
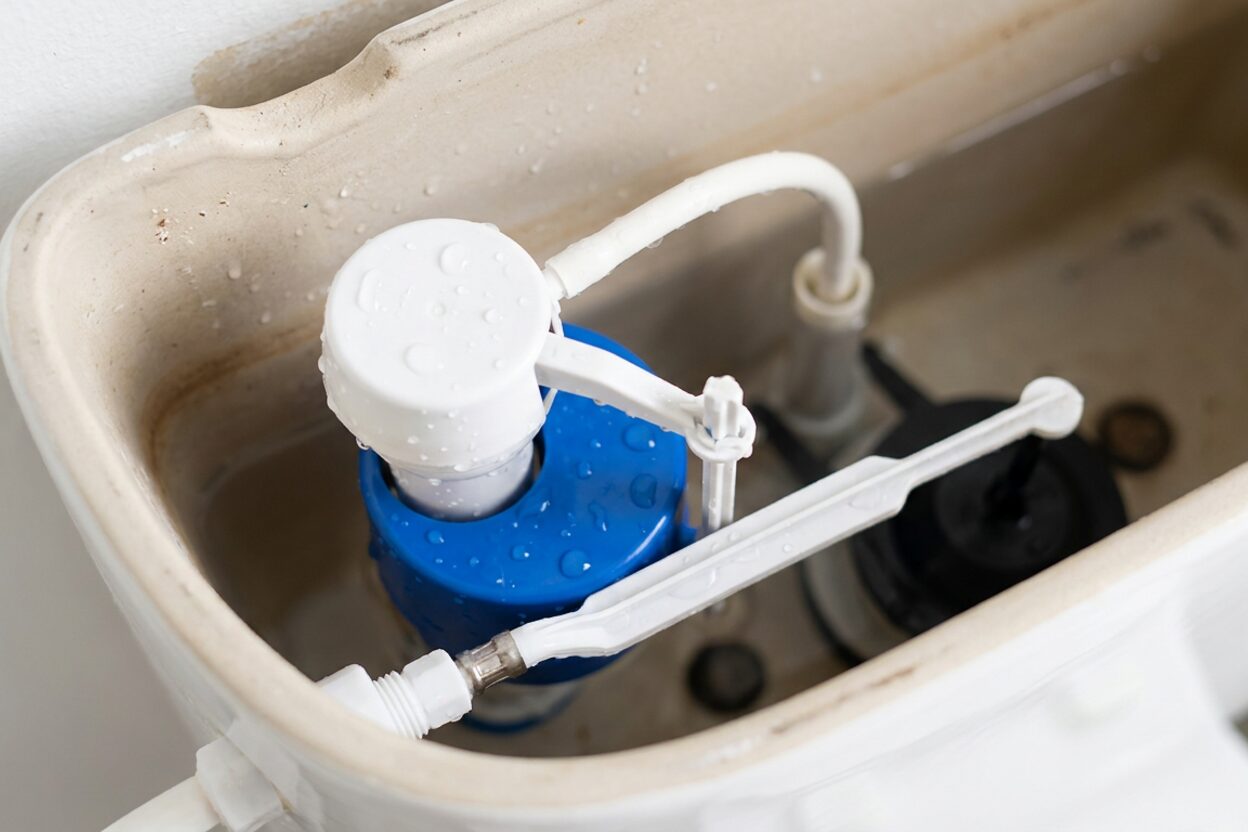
Why Is My Toilet Flushing Slowly and Weakly?

Cleaned My Toilet But the Flush Is Still Weak — What Did I Miss?
Read full question
Nobody warned me how frustrating it would be to tackle what looked like a simple toilet fix, only to have the problem linger. Replaced the flapper yesterday after reading it was the likely culprit for a sluggish flush, but the bowl still barely clears when I hit the handle — water kind of drifts around rather than pulling everything down with any real force.
The toilet is in my condo's main bathroom and has been here since I moved in. It's a standard two-piece unit, nothing fancy. I adjusted the water level in the tank while I was in there and it looks full to the marked line, so I'm not sure what else to check. Could there be something else going on that I overlooked, or is a weak flush always a sign of a bigger issue?
Quick Answer
A slow, weak flush is almost always caused by one of four things: clogged rim jets under the bowl's rim, a water level that's set too low in the tank, a flapper that closes too quickly, or a partial clog in the trap or drain line. Diagnosing which one (or which combination) is the issue takes about 15 minutes and most fixes are straightforward DIY work.
The Short Version
A weak, sluggish flush almost never points to one single cause — it's usually a combination of factors working against you. The good news is that each one is identifiable and fixable without calling a plumber in most cases. Work through the checks below in order, because the first two are free and take only a few minutes.
Start With the Rim Jets
Under the rim of your toilet bowl, there's a row of small angled holes (rim jets) through which water rushes in at the start of every flush to create the spinning, scouring action. These jets are notorious for getting clogged with mineral deposits — especially in areas with hard water — and when they're partially or fully blocked, the flush goes from a powerful swirl to a weak, straight-down dribble.
To check them, hold a small mirror under the rim and use a flashlight to inspect each hole. You're looking for whitish or brownish scale buildup partially blocking the opening. To clear them:
- Pour a full bottle of white vinegar directly into the overflow tube inside the tank — this routes the vinegar down into the rim channel where it can soak. (Do not flush the tank yet.)
- Turn off the supply at the angle-stop (shutoff valve) behind the toilet so the tank does not refill and dilute the vinegar. Stuff a rag into the siphon jet at the bottom of the bowl to block it temporarily. Let the vinegar sit for at least an hour (overnight is better).
- Use a small stiff-bristled brush or a bent wire (a straightened coat hanger works) to poke through each jet opening and break up the softened deposits.
- Turn the water back on, let the tank fill, and test the flush.
This single step resolves a surprisingly large number of weak-flush complaints. If your condo building has notoriously hard water, this is likely a recurring maintenance item.
Double-Check the Water Level in the Tank
You mentioned adjusting the water level to the marked line — that's the right instinct. But it's worth verifying that the water is actually reaching about half an inch to one inch below the top of the overflow tube, not just to a faded manufacturer line that may have shifted over years of use. A tank that's even a little underfilled delivers noticeably less flushing force.
If the fill valve isn't letting the tank reach that level, the float adjustment may need a small tweak. Most modern fill valves have a simple turn-dial or clip adjustment on the top — consult the markings on your specific valve. If the valve is old and can't hold a proper fill height, replacement fill valves are widely compatible and height-adjustable to fit many standard toilets — check the valve's listed height range against your tank depth before purchasing, as some low-profile or older tanks may require a specific style.
Note: if you are also adjusting the physical height of the fill valve itself, make sure the fill valve's critical-level (CL) mark — typically a stamped label near the top of the valve body — sits at least one inch ABOVE the top of the overflow tube. Only the water level sits below the overflow tube; the CL mark must remain above it to preserve backflow protection.
The Flapper Might Still Be the Problem — Just in a Different Way
You already replaced the flapper, which was smart. But if the new flapper is closing too quickly, the tank water dumps only partially before the flush valve seals shut again, and the result is a weak flush even with a brand-new part. This is a common flapper-chain issue: if there's too much slack in the chain, the flapper can close prematurely before a full flush cycle completes.
Aim for minimal slack — just enough that the chain isn't pulling the flapper off its seat when the handle is at rest, but not so much that it can bunch up under the flapper seal. A rough starting point is about a half inch or less, but adjust by feel and watch whether the flapper stays open for a full flush cycle before closing. If the flapper has a buoyancy adjustment dial (some do), setting it to stay open slightly longer can also help.
Rule Out a Partial Clog in the Trap or Drain
If the rim jets are clear, the tank is full, and the flapper timing is right, but the bowl still empties sluggishly, there may be a partial obstruction in the toilet trap or the drain line further down. A full clog is obvious; a partial one is subtle — water drains, just slowly, and the flush feels weak even when everything mechanical is working correctly.
Start with a flange plunger (the kind with a fold-out cup that seals the drain opening, not a flat cup plunger). Give it 10–15 vigorous pumps with a good seal. If that doesn't free things up, a toilet auger (closet auger) — most consumer models reach approximately 3 feet into the drain, which is enough to address obstructions in the trap and immediate drain line. Longer professional models exist for deeper obstructions — can break up or retrieve an obstruction such as items that were partially flushed and lodged in the trap.
Important: Do not use liquid chemical drain cleaners in a toilet. They're largely ineffective on toilet clogs, can crack the porcelain from heat buildup, and leave a caustic residue that becomes a splash-back hazard if you plunge afterward. Stick with the plunger and auger.
When to Think About Low Water Pressure or a Condo-Specific Issue
In a condo specifically, it's worth considering whether the building's water pressure has changed — perhaps due to work on the main line or a pressure-reducing valve adjustment. Low incoming pressure can affect the fill rate and, indirectly, flush performance. If neighbors are reporting similar issues or you notice weaker flow at faucets too, flag it with building management. That's outside DIY scope and falls to the building's plumbing system.
When to Call a Plumber
Most weak-flush causes are DIY-friendly, but call a licensed plumber if: multiple fixtures in your unit are draining slowly at the same time (that points to the building's main drain line, not your toilet); a toilet auger can't clear what feels like a significant obstruction; or the problem persists after you've worked through everything above. For more guidance on related fixes, browse our toilet repair guides.
What You'll Need
- White vinegar (at least one liter)
- Small mirror and flashlight
- Stiff brush or bent wire for rim jets
- Flange plunger
- Toilet (closet) auger
- Replacement fill valve (if float adjustment can't fix low water level)
- Rag for blocking the siphon jet during vinegar treatment
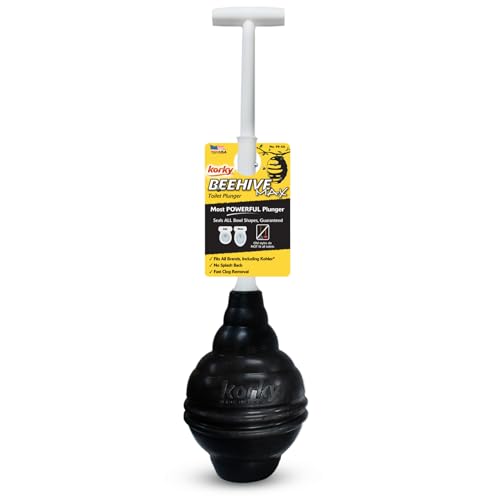 Korky BeehiveMAX Heavy Duty Toilet Plunger - Seals All Bowl Shapes – Powerful Clog Removal
View on Amazon →
Korky BeehiveMAX Heavy Duty Toilet Plunger - Seals All Bowl Shapes – Powerful Clog Removal
View on Amazon →
 Closet Auger, 6 ft Cable Lg, 1/2 in Cable Dia, Power Drill Compatible, Bulb Head, Manual Cable Feed - 1 Each
View on Amazon →
Closet Auger, 6 ft Cable Lg, 1/2 in Cable Dia, Power Drill Compatible, Bulb Head, Manual Cable Feed - 1 Each
View on Amazon →

Still need help? Ask a Plumbing Expert AD
Get a personalized answer from a verified plumbing expert. Describe your issue and get step-by-step help.