
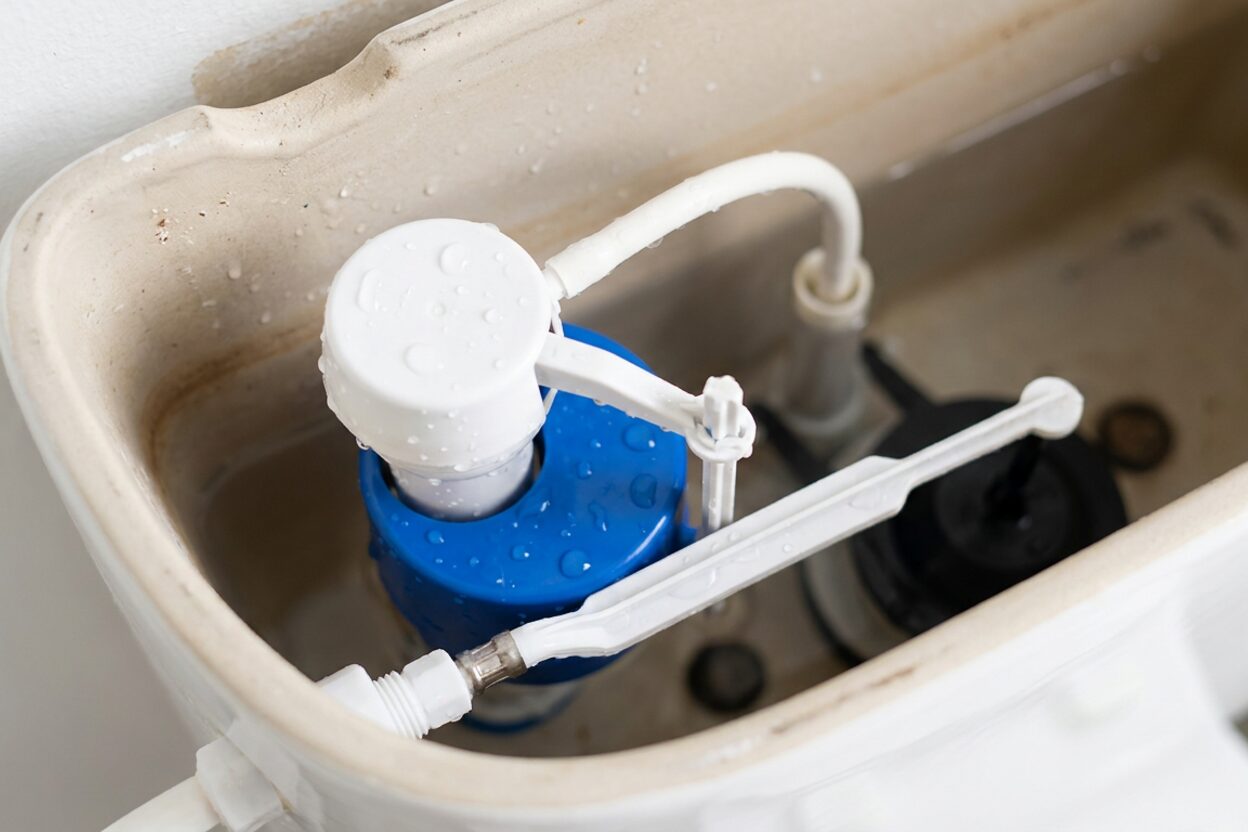
Toilet Won't Flush? Diagnose & Fix It Fast

Toilet Won't Flush — What Should I Fix Before Calling a Plumber?
Read full question
During my weekend home inspection walkthrough, I noticed the toilet in our main bathroom has basically stopped flushing properly — you press the handle and almost nothing happens, or it flushes so weakly that stuff doesn't go down. Before I run out and buy a bunch of replacement parts or call a plumber, I want to understand what's actually going on inside the tank. Is this usually a cheap DIY fix, or am I looking at something more serious? I'm handy enough to swap out basic parts but I've never dug into toilet internals before.
Quick Answer
A toilet that won't flush usually comes down to one of five culprits: a disconnected or tangled chain, a worn flapper, a low water level in the tank, a faulty fill or flush valve, or a partial clog in the trap. Most of these are straightforward DIY repairs with basic tools. Confirming which issue you have before buying parts will save you time and frustration.
First, Let's Figure Out What Kind of 'Won't Flush' You're Dealing With
A toilet that won't flush properly isn't one problem — it's a symptom of several possible problems, and the fix is completely different depending on which one you have. Before buying anything, take two minutes to confirm what's actually happening. Here's how to narrow it down quickly.
Lift the tank lid and set it somewhere safe. Watch what happens when you press the handle. Does the chain go slack and nothing lifts? Does the flapper lift but water barely moves into the bowl? Is the tank nearly empty before you even flush? Each of those tells you something different. Let's work through them in order of likelihood.
The Chain: The First Thing to Check
This is a frequent culprit and easy to overlook. The lift chain connects your flush handle arm to the flapper at the bottom of the tank. If the chain has too much slack, pressing the handle won't lift the flapper enough to release water. If the chain is caught under the flapper or tangled around the arm, the flapper can't seal properly either — which causes a different problem (a running toilet), but it can also interfere with flushing.
The fix: adjust the chain so there's about half an inch of slack — enough that it doesn't pull the flapper up at rest, but not so much that the handle travel is wasted on slack before anything lifts. You can usually clip the chain to a different hole on the handle arm to adjust. No parts needed.
The Flapper: The Most Common Repair
If the chain looks fine but the tank empties slowly or the flush feels weak, look at the flapper — the rubber disc that seals the flush valve opening at the bottom of the tank. Over time, flappers warp, harden, or get coated with mineral deposits, so they don't seal well or don't open fully. This is a very common toilet repair.
To test it: put a few drops of food coloring in the tank and wait 10–15 minutes without flushing. If color appears in the bowl, the flapper isn't sealing and should be replaced. To test whether it's opening fully, hold the handle down and watch whether the flapper lifts completely away from the seat — it should swing up and stay up for the duration of the flush.
Many replacement flappers are designed to fit a wide range of toilets and are adjustable, but some toilet models use proprietary designs — so bring the old flapper to the hardware store or look up your toilet's model number (usually stamped inside the tank) before buying. Replacing a flapper takes about 10 minutes: turn off the water at the shutoff valve, flush to empty the tank, unhook the old flapper from the overflow tube ears and disconnect the chain, snap on the new one, reconnect the chain, and turn the water back on. That's it. For more detail on this repair, our flappers and chains category covers it thoroughly.
Water Level in the Tank: Simpler Than It Sounds
For a strong flush, the tank needs to be full to the correct level — usually about an inch below the top of the overflow tube — many tanks have a fill line marked inside; use that as your reference if present, or consult your toilet's manufacturer spec. If the water level is sitting significantly lower than that, you won't have enough volume to flush effectively.
Low water level is typically caused by the fill valve either being adjusted too low or beginning to fail. On most fill valves, there's an adjustment screw or float arm you can turn or bend to raise the shutoff point. If adjusting doesn't fix it, or if the fill valve is slow, noisy, or erratic, replacement is the next step. Fill valves are largely universal and adjustable, and replacing one is a manageable DIY job — see our guides in the fill and flush valve section for step-by-step help.
A Partial Clog in the Trap
If pressing the handle produces a normal-looking tank flush but water rises in the bowl before draining away slowly, you're looking at a partial clog rather than a tank problem. The flush is working — the drain isn't.
Start with a flange plunger (the one with the extended rubber lip that fits into the drain opening — not a flat cup plunger). Give it 10–15 firm strokes with a good seal. If plunging doesn't clear it after a couple of attempts, move to a toilet auger (also called a closet auger). Feed the cable in, crank until you feel resistance, and work it through. Do not use liquid chemical drain cleaners in a toilet — they rarely dissolve toilet clogs (which are typically solid waste or paper, not grease or hair), and they leave caustic liquid sitting in the trap that can splash back and cause serious chemical burns if you plunge afterward. There is no safe or effective reason to use them here.
The Flush Valve Itself
Less commonly, the flush valve seat (the plastic ring the flapper sits on) can crack or become rough and pitted, preventing a good seal and causing poor flush performance. You can run your finger around the seat to feel for chips or cracks. If the seat is damaged, you can sometimes install a flush valve seat repair kit; other times the entire flush valve assembly needs replacement, which is a more involved repair but still DIY-friendly.
When to Stop and Call a Plumber
Most non-flushing toilets are fixable without professional help. However, call a licensed plumber if: multiple drains in the home are sluggish or backing up at the same time (this points to the main sewer line, not the toilet); the porcelain bowl or tank is visibly cracked; or the clog doesn't clear after thorough plunging and augering. Those situations go beyond a typical toilet repair.
Parts to Have on Hand Before You Start
If you want to be efficient, pick up a universal flapper and a universal fill valve before you begin — together they cover the two most common causes of flush problems and won't break the budget. You may not need both, but having them on hand means you don't make a second hardware store trip mid-repair. Make sure to turn off the supply valve, flush the tank empty, and sponge out any remaining water before working inside the tank.
 Closet Auger, 6 ft Cable Lg, 1/2 in Cable Dia, Power Drill Compatible, Bulb Head, Manual Cable Feed - 1 Each
View on Amazon →
Closet Auger, 6 ft Cable Lg, 1/2 in Cable Dia, Power Drill Compatible, Bulb Head, Manual Cable Feed - 1 Each
View on Amazon →
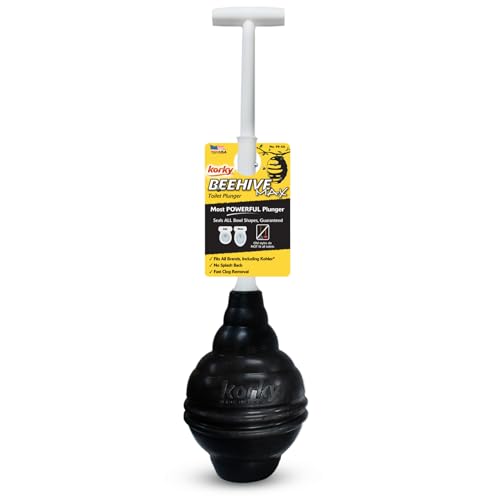 Korky BeehiveMAX Heavy Duty Toilet Plunger - Seals All Bowl Shapes – Powerful Clog Removal
View on Amazon →
Korky BeehiveMAX Heavy Duty Toilet Plunger - Seals All Bowl Shapes – Powerful Clog Removal
View on Amazon →
 Korky 2017BP Standard 2-Inch 2X Ultra High Performance Universal Long Lasting Rubber-Easy to Install-Made in USA Toilet Flapper, 1 Count (Pack of 1), Red
View on Amazon →
Korky 2017BP Standard 2-Inch 2X Ultra High Performance Universal Long Lasting Rubber-Easy to Install-Made in USA Toilet Flapper, 1 Count (Pack of 1), Red
View on Amazon →
 Fluidmaster 400H-002 Performax Universal Toilet Fill Valve High Performance Tank and Bowl Water Control, 1-Pack, Multicolor
View on Amazon →
Fluidmaster 400H-002 Performax Universal Toilet Fill Valve High Performance Tank and Bowl Water Control, 1-Pack, Multicolor
View on Amazon →

Still need help? Ask a Plumbing Expert AD
Get a personalized answer from a verified plumbing expert. Describe your issue and get step-by-step help.