
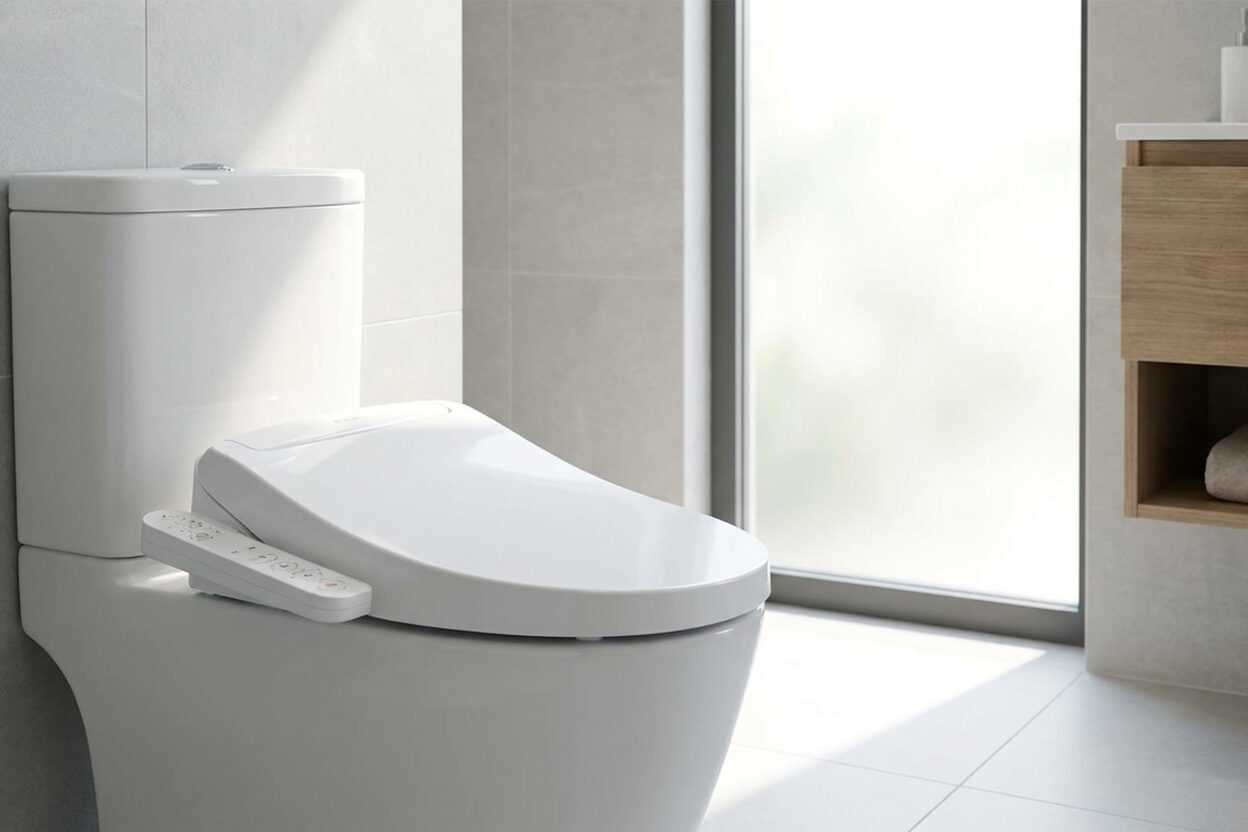
Bidet Leaking at Supply Connection? Here's the Fix

Why does my bidet leak at the supply line connection?
Read full question
Nobody in my house ever dealt with plumbing drama until we installed a bidet seat last month — and now there's a steady drip coming from where the hose connects to the water supply. My neighbor put in the same type of add-on bidet years ago and swears she's never had a single problem with it. Meanwhile, I'm mopping up under the toilet every other day and wondering what I'm doing wrong.
The leak seems to be right at the T-valve fitting where it meets the shutoff valve. I hand-tightened everything during install and then gave it an extra turn with pliers like the instructions said, but water just keeps seeping out. Could it be the angle of the connection, the water pressure in our house, or is this something that needs a replacement part?
We have two kids and the bathroom gets heavy use, so I'd really love to fix this properly rather than just slapping a towel down and ignoring it. Hoping someone can walk me through what's actually going wrong and how to sort it out for good.
Quick Answer
A bidet leak at the supply connection is almost always caused by a loose fitting, a missing or damaged rubber washer, cross-threaded connections, or a mismatched thread size. Turning off the water, inspecting and replacing any faulty washers or O-rings, and carefully reseating the T-valve with correct hand-tightening plus a snug wrench turn will resolve the issue in most cases. If the T-valve itself is cracked or the threads are damaged, replacing that one part is usually all it takes.
What's Really Going On at That Connection
The good news: a drip at the bidet's supply connection is one of the most fixable plumbing problems around. The culprit is most commonly a sealing failure at the joint itself — a missing or deformed rubber washer, an improperly seated connection, mismatched thread sizes, or cross-threading during installation. High household water pressure can also stress an imperfect seal and contribute to the problem, but we'll cover that too. None of these causes are mysterious, and nearly all are straightforward to fix. Your neighbor likely just got lucky with her first attempt (or had a slightly better washer in the box). Let's make yours leak-free too.
The Most Common Reasons This Happens
- Missing or damaged rubber washer: Inside every bidet hose fitting and T-valve coupling there should be a small rubber washer or O-ring. If it's missing, cracked, twisted out of place, or made of very thin material, water will find its way past the threads no matter how tight you go.
- Connection too loose: Hand-tightening alone often isn't enough. A small gap between threads lets water weep out steadily, especially under household water pressure.
- Overtightening: Counterintuitively, cranking too hard can crush and deform the washer or crack the tapered threads on plastic fittings, creating a leak instead of curing one.
- Cross-threading: If the T-valve was started at a slight angle during install, the threads may have engaged incorrectly. The connection might feel snug but still leak because there's no true seal.
- Mismatched thread sizes or types: Most bidet supply connections in North American installations use a ½-inch fitting, but thread type (NPT, compression, or ballcock-style) also matters — always measure or compare your existing fittings rather than assuming a match.
- Worn or damaged T-valve or supply hose: If the T-valve itself has a hairline crack, or the braided supply hose is aged and degraded, the leak source may be the component rather than just the joint.
What You'll Need Before You Start
- Adjustable wrench or slip-joint pliers
- Replacement rubber washers or O-rings (take the old one to the hardware store to match size)
- Plumber's tape (PTFE thread-seal tape) — optional but helpful on metal-to-metal threads
- A small bucket or folded towel
- Flashlight for inspecting inside fittings
Safety first: Turn off the water supply at the shutoff (angle-stop) valve behind or beside the toilet before you touch any fitting. Flush the toilet once to relieve pressure in the line, and have your towel or bucket ready for any residual drips.
If your bidet is an electronic seat or washlet (i.e., it plugs into an outlet): Make sure the outlet is GFCI-protected and keep all electrical connections dry throughout this repair. Do not attempt to modify or splice the power supply — that work requires a licensed electrician.
Step-by-Step: Diagnosing and Fixing the Leak
- Shut off the supply and dry the area. Wipe everything down so you can see exactly where the water is coming from — the top of the T-valve where it meets the shutoff, the bottom where the bidet hose attaches, or somewhere else entirely.
- Unscrew the leaking connection completely. Don't just retighten — take it apart so you can inspect it properly.
- Check the rubber washer. Look inside the fitting for a small rubber disk. Is it there? Is it intact and circular, or is it squashed flat, cracked, or twisted? If it's in poor shape — or absent — replace it. These washers are inexpensive and available at any hardware store; bring the old fitting along to match the size.
- Inspect the threads. Look for any signs of cross-threading (chewed or shiny thread peaks), cracks in plastic fittings, or corrosion on metal ones. If threads are damaged, the fitting needs to be replaced rather than re-used.
- Verify thread compatibility. Confirm that the T-valve threads match your shutoff valve. Standard sizing is ½-inch in most North American installations, but thread type also matters — always measure or compare rather than assume.
- Reassemble carefully. Start threading by hand first — straight and slow — until it seats properly before applying any tool. This prevents cross-threading. For metal-to-metal connections, wrapping a couple of layers of PTFE tape clockwise around the male threads can help seal minor imperfections.
- Tighten correctly. Hand-tighten fully, then use a wrench to snug it a little further — the goal is firm compression on the washer, not maximum force. Stop when resistance increases noticeably; do not force it. Plastic fittings in particular can crack if overtightened.
- Turn the water back on slowly and watch the connection for a full minute before declaring victory. A flashlight helps spot tiny weeps early.
If the Leak Persists After Reassembly
If you've replaced the washer and re-seated everything correctly and it still drips, the T-valve itself may be the problem. A hairline crack in plastic or a defective valve body won't seal no matter what you do with the washer. Replacing the T-valve with a new one of the correct size is straightforward — it's usually a matter of two threaded connections — and new kits typically include a fresh washer in each coupling. Check that the replacement matches your shutoff valve's thread size and type before buying.
High household water pressure can also stress an imperfect seal enough to push water through. If you suspect your pressure is on the high side, a licensed plumber can check it with a gauge and install a pressure-reducing valve if needed. Most bidet manufacturers publish the recommended pressure range in their spec sheets — it's worth a quick look at yours.
Keeping It Leak-Free Long Term
Once the connection is solid, a quick visual check every few months is all the maintenance this joint typically needs. If you ever notice the bidet hose feels stiff, looks kinked, or the braiding is fraying, swap it out proactively — hoses do degrade over time, especially with fluctuating pressure or harsh water chemistry. For more general help with supply-line and shutoff valve issues, our supply and shutoff valve section covers related problems in detail.
When to Call a Plumber
This repair genuinely is a DIY job in most cases. However, call a professional if: the shutoff valve itself won't fully close (making safe repairs impossible without turning off water at the main), the threads on the shutoff valve are corroded or damaged beyond re-use, or the leak is coming from inside the wall rather than the exposed fitting. Those scenarios move beyond a simple washer swap into valve replacement or supply-line work that warrants a licensed plumber.


Still need help? Ask a Plumbing Expert AD
Get a personalized answer from a verified plumbing expert. Describe your issue and get step-by-step help.