
How to Install a Bidet on an Existing Toilet

Can I Add a Bidet to My Existing Toilet Without a Plumber?
Read full question
Three days of heavy rain last week had me stuck indoors with nothing to do but finally research something I've been putting off — adding a bidet to the main bathroom. My house is older and the bathroom fixtures are original, so I'm a little nervous about making changes without breaking something. I've watched a few videos and it looks manageable, but I want to make sure I understand the full process before I start disconnecting things.
I have an older-style toilet with a standard shut-off valve on the wall behind it. Is there anything I should know before buying a bidet attachment or seat? I don't know whether to go with a simple spray attachment or an electric washlet-style seat, and I'm not sure if my setup will handle either type. Any guidance on the steps involved and what to expect would be really appreciated.
Quick Answer
Installing a bidet on an existing toilet is a manageable DIY project for most homeowners. A basic spray attachment takes 20–40 minutes and needs only a T-valve, a short hose, and basic hand tools. Electric bidet seats are also DIY-friendly but require a grounded outlet nearby.
The Good News: Your Toilet Is Probably Ready Right Now
Before anything else, it's worth addressing the rainy-day trigger here — wet weather and indoor projects go hand in hand, but the condition of your existing toilet plumbing has nothing to do with moisture in the air. What does matter is what type of bidet you choose, because that determines how involved the installation gets. Let's walk through the whole picture, from picking the right unit to testing for leaks.
Choosing Your Bidet Type First
There are three main categories, and each has a very different installation footprint:
- Cold-water spray attachment: The simplest and least expensive option. It slips between the bowl and your existing toilet seat and connects to the shut-off valve with a T-adapter. No electrical outlet needed. Installation is typically straightforward and can often be completed in well under an hour with basic hand tools, though your time will vary depending on your fixture and familiarity with the process.
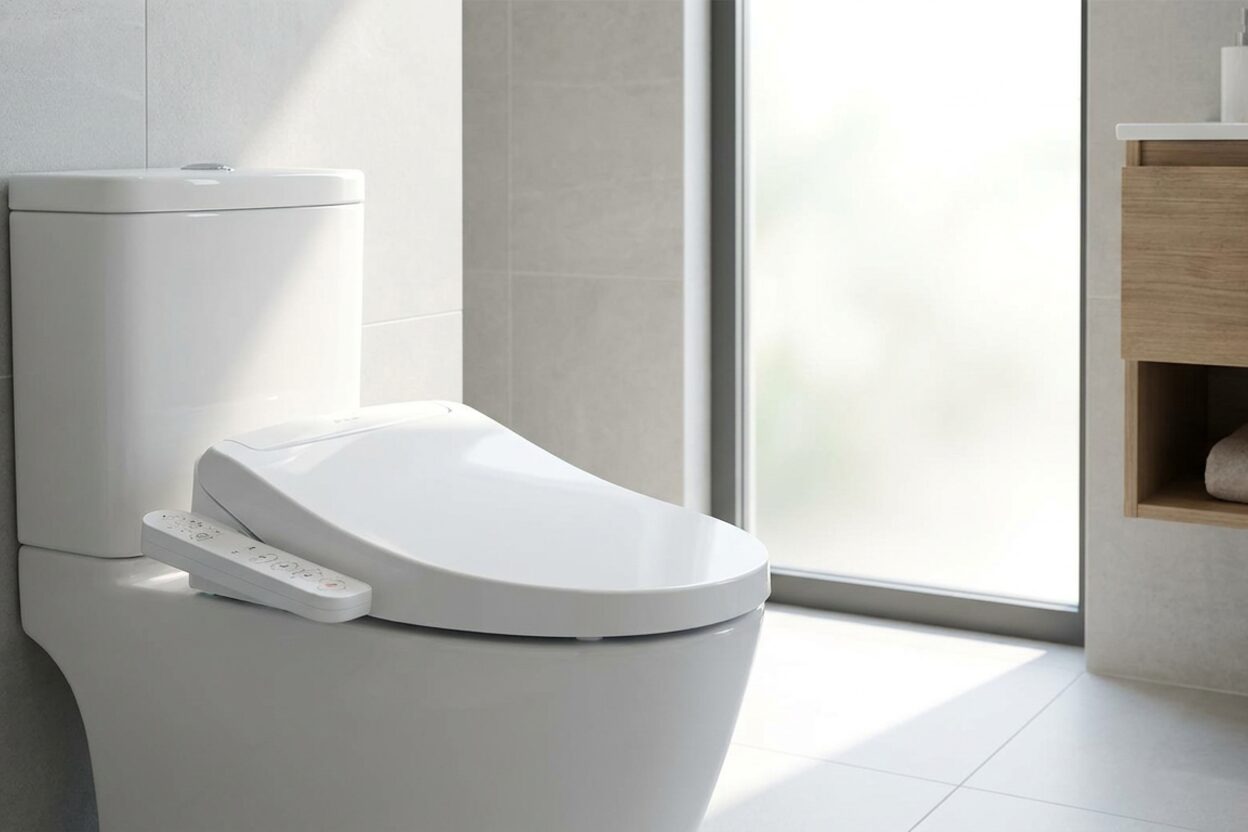
- Electric bidet seat (washlet): Replaces your existing toilet seat entirely. These seats add features like warm water, a heated seat, air dryer, deodorizing fan, and adjustable pressure. The catch — they need a nearby grounded 120V outlet. If your bathroom doesn't have one within reach, that's a separate project. Installation is generally manageable in a single session for most homeowners, though time will vary by model and experience.
- Standalone bidet fixture: A separate porcelain fixture mounted next to the toilet, requiring dedicated hot and cold supply lines and floor anchoring. This is not a DIY afternoon project — it's a half-day job that genuinely benefits from a licensed plumber, especially in an older home where supply lines may not be where you'd expect them.
For an older home with original fixtures, I'd strongly recommend starting with a spray attachment or an electric seat. They work with your existing toilet without any structural changes to the bathroom.
What You'll Need on Hand
For a spray attachment or electric seat, gather these before you start:
- Adjustable wrench or channel-lock pliers
- Flathead and Phillips screwdrivers
- Plumber's (Teflon) tape
- A small bucket and old towels
- Disinfectant wipes or spray for cleaning the seat area
- The bidet's included hardware (T-valve, braided hose, mounting bracket)
The Installation, Start to Finish
Step 1 — Shut Off the Water
Find the shut-off valve (angle stop) on the wall or floor behind the toilet. Turn it clockwise until it stops. Then flush the toilet to drain the tank. Use a small bucket and towels to sponge out any water remaining in the tank — you don't want it draining onto the floor when you disconnect the supply line.
Step 2 — Remove the Toilet Seat
Pop up the plastic caps at the rear of the seat to expose the mounting bolts. Remove the bolts and nuts — save them, because you'll need them again. Lift the seat off and set it aside. Take this opportunity to clean the bowl rim and the bolt holes thoroughly. It's much easier now than after everything is reassembled.
Step 3 — Install the Mounting Bracket
Most bidet seats and attachments come with a mounting bracket plate. Slide it over the existing bolt holes on the toilet bowl. Thread the hardware through and tighten just enough to hold it in place — you'll fine-tune the position in the next step, so don't lock it down yet. Align the bidet seat or attachment on the bracket, slide it until it sits centered and snug without rocking, then tighten the bracket fully.
If you're installing a spray attachment rather than a full seat replacement, the attachment plate slides under the original seat. You'll reinstall your original toilet seat over the top of it, using the same bolts.
Step 4 — Connect the Water Supply
Disconnect the existing braided supply hose from the shut-off valve. Wrap the threads of the shut-off valve with two or three layers of Teflon tape, then thread the bidet's T-adapter onto the valve — hand-tight first, then snug with a wrench. Don't overtighten. The T-adapter now has two ports: one connects back to the toilet tank (reattach the original supply hose here), and the other connects to the short braided hose running to the bidet's control module.
Before making each connection, confirm the rubber washers are seated inside the hose fittings. Missing or pinched washers are the most common reason a connection drips after installation. Tighten until snug — just past hand-tight, by feel. The goal is a firm connection without deforming the washer or fitting. If a connection drips after turning the water on, snug it a little more; avoid forcing it.
Step 5 — Handle the Electrical (Electric Seats Only)
If you've chosen an electric bidet seat, confirm there's a grounded, GFCI-protected three-prong outlet within cord reach before you go any further — a GFCI outlet is a code requirement in bathroom locations in most jurisdictions and is your primary protection against shock near water. Confirm your unit's voltage and amperage requirements against your outlet and circuit. Most electric bidet seats sold for North American homes use a standard 120V grounded circuit — confirm this against your unit's documentation before proceeding. Do not use an extension cord or an ungrounded adapter. If there's no suitable outlet within reach, have a licensed electrician add one before you proceed.
Step 6 — Turn the Water Back On and Test
Slowly open the shut-off valve and let the tank fill. Watch every connection point — the T-adapter at the valve, both hose ends, and the fitting at the bidet — for any dripping. Run your finger around each joint; even a small weep will show up. If you find a drip, shut the water off, dry the connection, and retighten slightly or re-wrap with fresh Teflon tape.
Once you're satisfied there are no leaks, test the bidet functions. Start with the lowest pressure setting and adjust from there. Confirm the spray pattern is aimed correctly and that any seat or temperature controls (on electric models) respond as expected.
A Few Things Worth Knowing for an Older Home
Older shut-off valves can sometimes be stiff or show minor weeping when disturbed for the first time in years. If your valve doesn't close completely or develops a drip at the packing nut after you turn it, that's a sign it needs replacement — check out our supply line and shutoff valve guides for how to handle that before continuing. It's a straightforward fix but worth addressing properly rather than working around it.
Also, take a look at your toilet seat's mounting bolt pattern. Most bidets fit standard round and elongated bowls, but a few older or non-standard toilets have unusual spacing. The bidet's product page or packaging should list compatible bowl shapes — it's worth confirming before you open the box.
When to Call a Plumber
For attachments and electric seats, the vast majority of homeowners can handle this without professional help. Call in a plumber if: your shut-off valve is corroded, leaking, or won't close; you're pursuing a standalone bidet that needs new supply lines run through walls; or your bathroom has no grounded outlet and you need electrical work done. Those situations cross into territory where the cost of a professional is well justified.


Still need help? Ask a Plumbing Expert AD
Get a personalized answer from a verified plumbing expert. Describe your issue and get step-by-step help.