
How to Connect a Bidet to Your Toilet Water Supply

Connecting a Bidet to My Toilet's Water Supply This Weekend
Read full question
During my Saturday morning planning session, I realized this would be the perfect weekend to finally install the bidet attachment I've had sitting in its box for two months. My bathroom has a standard toilet with the shutoff valve accessible behind it, and the bidet kit came with what looks like a T-shaped fitting and two hoses — but I want to make sure I understand the connection sequence before I start turning things off and pulling apart my water supply line.
I'm comfortable with basic home repairs, but plumbing always makes me a little nervous about leaks. I'd love to know exactly what order to connect everything, whether I need any extra materials like Teflon tape, and what to watch for once I turn the water back on. I'm planning to do this solo, so knowing the full picture ahead of time would really help me feel confident going in.
Quick Answer
Connecting a bidet to your toilet's water supply centers on one key fitting — a T-valve that splits the existing cold-water line to feed both the tank and the bidet. You shut off the water, swap in the T-valve between the fill valve and the supply hose, attach the bidet hose to the side outlet, then turn the water back on and check every joint for drips. Most budget attachments go in under an hour; electric seats with mounting hardware can take two to three hours.
Start With the Cheapest Setup — and Work Up From There
Good news: the core plumbing connection is identical whether you're installing a budget manual attachment or a premium electric seat. Both rely on the same T-valve concept. The main cost difference is in the seat itself, not in the plumbing work. So let's start with the simplest, most affordable path and note where things get more involved as you move up.
Budget attachments and non-electric bidet seats connect only to your toilet's existing cold-water supply line. That's it. No electrical outlet needed, no hot-water hookup unless you run a separate line to the bathroom sink supply (some models support this). These are the friendliest entry point, and the plumbing steps below cover them completely.
Premium electric seats — such as those offered by Toto, Kohler, American Standard, and similar brands — use the same T-valve water connection but also require a GFCI outlet within reach of the toilet. If your bathroom lacks a nearby GFCI outlet, factor in an electrician visit before you commit to an electric seat.
What You'll Need Before You Start
- The bidet's T-valve (T-fitting) — should be included in the box
- The bidet's flexible supply hose — also usually included
- Plumber's (Teflon) tape
- An adjustable wrench or channel-lock pliers
- A small bucket or a few old towels
- A flathead and Phillips screwdriver (for seat removal/reinstall)
Supply-line thread sizes vary by toilet model — 7/8-inch is common in many residential installations, but check the T-valve packaging against your existing supply hose fitting before starting. If anything looks mismatched, a hardware store run fixes it cheaply.
The Connection Sequence, Step by Step
- Shut off the supply. Turn the shutoff valve (angle stop) clockwise until it stops — it's the oval or football-shaped handle on the wall behind and below the tank. Flush the toilet to drain the tank, then press the flush handle again to clear as much water as possible. Place your bucket or towels under the fill-valve connection at the bottom of the tank.
- Disconnect the existing supply hose. Unscrew the supply hose from the bottom of the fill valve (the fitting that enters the tank from below). Some water will drip — that's normal. Set the hose aside but don't discard it; it reconnects to the T-valve.
- Wrap the fill-valve threads with Teflon tape. Wind the tape clockwise around the threads, covering them fully — typically a few wraps is enough. Don't overload the threads; the goal is a thin, even layer that helps the fitting seat without preventing it from threading properly. Most bidet instructions mention this, and it's worth doing even if the T-valve has a built-in rubber gasket.
- Attach the T-valve to the fill valve. Thread the T-valve onto the fill valve's bottom outlet. Hand-tighten first, then snug it with a wrench — firm but not cranked down hard. Over-tightening plastic fittings cracks them; let the gasket and tape do the sealing work.
- Reconnect your original supply hose to the T-valve's bottom port. This is the straight-through outlet that continues feeding the tank. Hand-tighten, then snug with the wrench.
- Attach the bidet's flexible hose to the T-valve's side port. This is the new branch that feeds the bidet. Hand-tighten, then snug. The other end of this hose connects to the bidet unit's inlet — usually a labeled port on the attachment or seat's control module. Secure it the same way.
Mounting the Seat or Attachment
If you're installing an attachment, it typically slides between the existing toilet seat and the bowl rim, secured by the same seat bolts. Remove the seat, position the attachment plate, then reinstall the seat on top. The hose connection is all that links it to your plumbing.
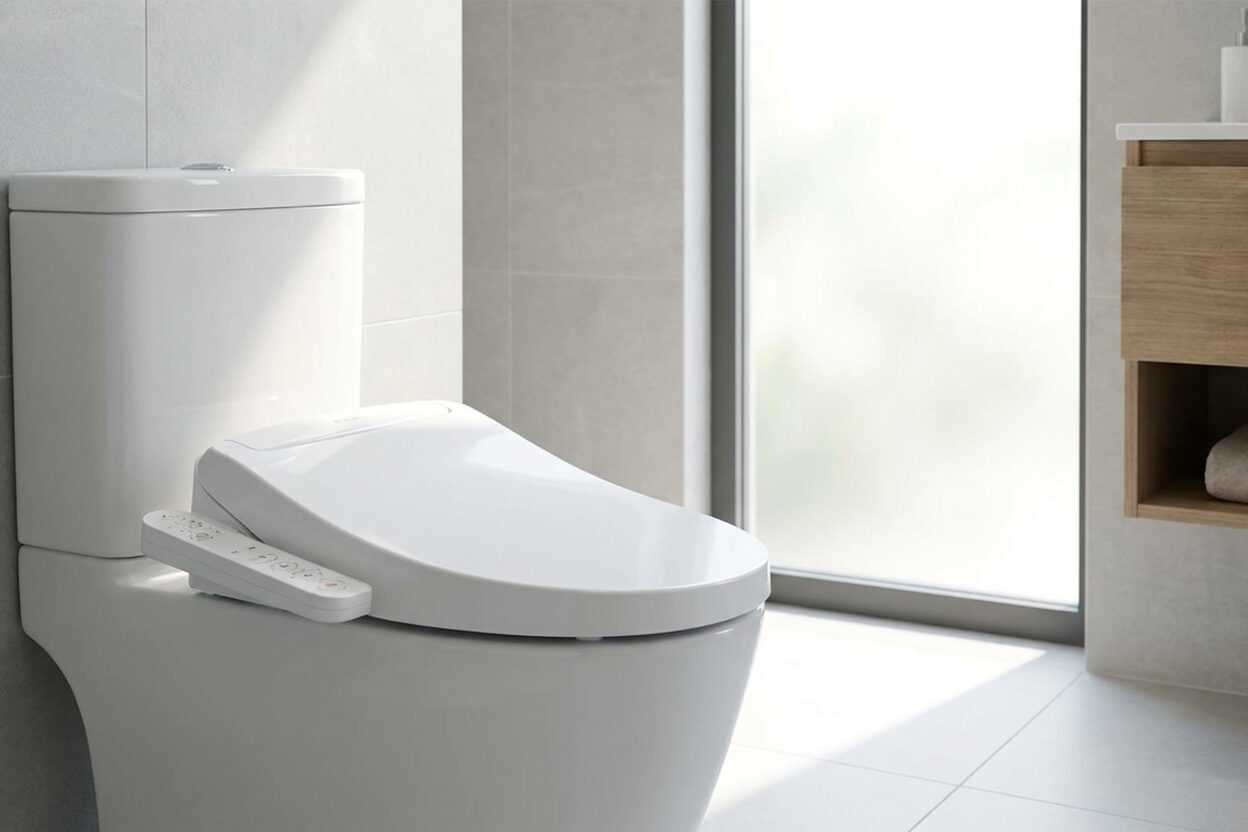
For a bidet seat, remove the old seat entirely and attach the bidet's mounting bracket to the bolt holes. Most brackets accept the seat's sliding rail, so it clicks on and can be removed for cleaning. Plug electric seats into a dedicated GFCI outlet — extension cords are not appropriate for a permanent installation, and electrical code typically requires GFCI protection for all bathroom receptacles. If your bathroom lacks a nearby GFCI outlet, consult a licensed electrician before proceeding.
Turning the Water Back On and Checking for Leaks
Open the shutoff valve slowly — a quarter turn at a time — rather than cranking it fully open at once. Watch every connection point as pressure builds: the T-valve-to-fill-valve joint, the original supply hose, and the bidet hose at both ends. Run your fingers around each fitting; even a slow drip will show up quickly.
If a joint drips: shut the water off, dry the fitting, and add another wrap of Teflon tape or tighten the connection a small amount further. Don't keep tightening a plastic fitting that's already snug — tape is your friend here.
Once everything is dry, test the bidet's spray function. Check the nozzle, adjust pressure if your model allows it, and confirm the tank still fills normally. For electric seats, also confirm the seat-heating and air-dryer functions cycle on as expected.
When It Makes Sense to Call a Plumber
This is genuinely a DIY-friendly job for most homeowners. That said, a few situations tip toward professional help: if your shutoff valve won't close fully (a leaking or stuck angle stop needs replacement before you disconnect anything), if the supply hose connection at the wall uses corroded or non-standard fittings, or if you're adding a hot-water line from the sink supply for a non-electric heated bidet. For more on supply-line and shutoff work, our supply line and shutoff valve guides cover those situations in detail.
Installation time varies — a straightforward swap with no complications can often be done in an hour or two, but allow extra time if you encounter a stiff shutoff valve, need a hardware store run, or are installing for the first time. A quiet Saturday morning is exactly the right window — you've planned this well.


Still need help? Ask a Plumbing Expert AD
Get a personalized answer from a verified plumbing expert. Describe your issue and get step-by-step help.