
Water Leaking Between Tank and Bowl? Here's Why

Water Dripping Between Tank and Bowl — What's Going On?
Read full question
During my morning routine I spotted a puddle forming right at the seam where the tank meets the bowl — and it definitely wasn't there yesterday. I've owned this house for about twelve years and this toilet has always been rock solid, so the sudden leak caught me off guard. The water seems to appear mostly after a flush and then sort of seeps down the back of the bowl. Is this a gasket issue, or something more serious I should be worried about?
Quick Answer
Water leaking at the tank-to-bowl junction almost always comes down to one of three things: a deteriorated spud (tank-to-bowl) gasket, loose or corroded tank bolts, or a cracked tank. The fix is usually a straightforward gasket and bolt replacement — a manageable DIY repair with basic tools and a hardware store run.
Tracking Down the Drip
A puddle or trickle appearing right where the tank meets the bowl is telling you something specific: the sealed connection between those two pieces of porcelain has failed somewhere. The good news is that this joint is designed to be serviceable, and the culprit is almost always a worn spud gasket (the large rubber doughnut that seats between the flush valve at the bottom of the tank and the inlet horn on the bowl) or a pair of tank bolts that have either loosened or corroded through.
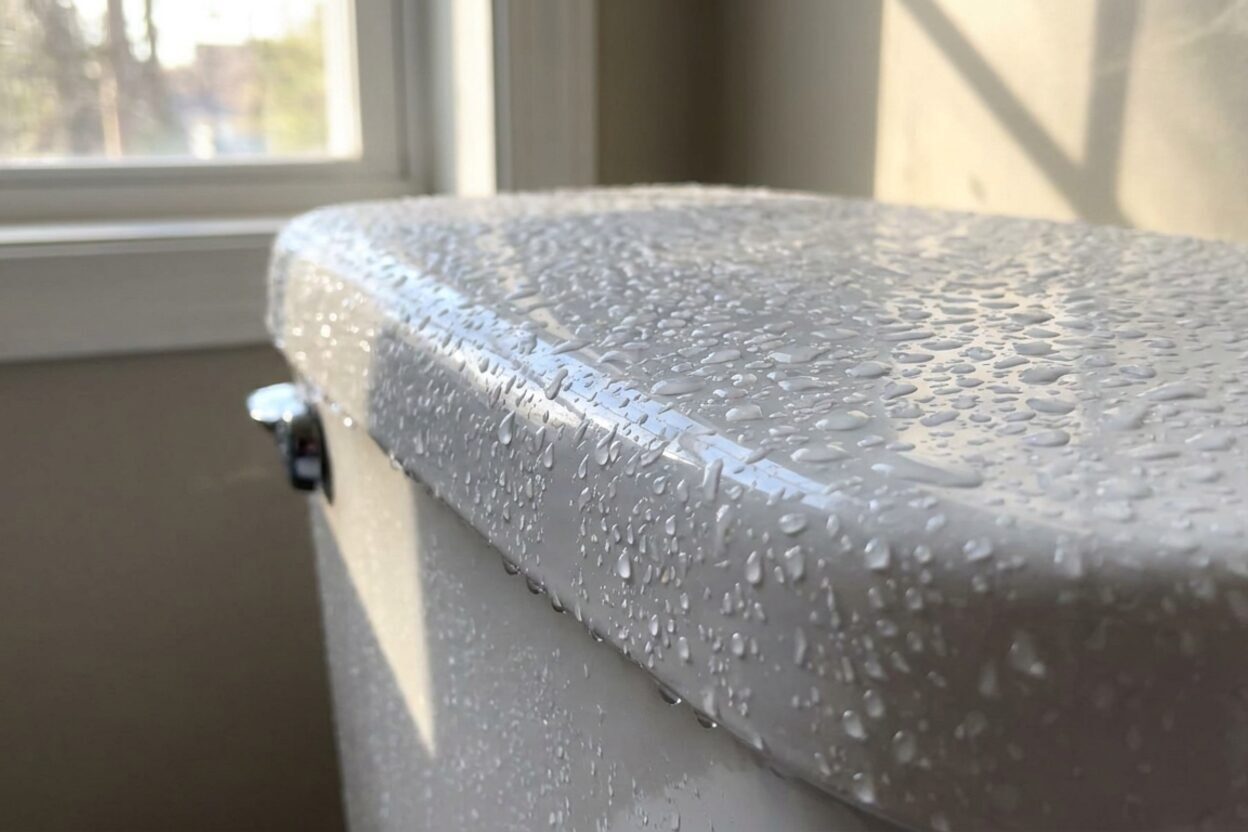
Before you do anything else, try to observe when the water appears. If it shows up immediately after every flush and runs down the back of the bowl, that strongly points to the spud gasket or tank bolts — pressure from the flush is forcing water through a gap in the seal. If you see moisture even between flushes and the weather is humid, you might actually be looking at condensation on a cold tank rather than a true leak — though if the toilet has been in service for some years, a failed seal is the more likely story.
What You're Working With Under the Tank
Most two-piece toilets use the same basic hardware to join tank to bowl:
- Spud gasket / tank-to-bowl gasket: A thick rubber washer that compresses between the flush valve nut and the bowl's inlet. Over time — and the timeline varies with water chemistry and cleaning products — rubber gaskets harden, crack, or simply deform out of shape and lose their seal.
- Tank bolts (usually two): Long brass or stainless bolts that pass through holes in the bottom of the tank and through corresponding holes in the bowl's mounting ledge, secured with nuts tightened from underneath the bowl. Each bolt has a rubber washer on the tank side and a nut on the bowl side. If a washer deteriorates or a nut backs off from vibration, water can track right down the bolt.
- Bolt washers and nuts: Often overlooked, these washers are a common leak point in their own right.
Shutting Off and Draining Before You Start
Safety and dry conditions first. Turn off the supply at the shutoff valve (the angle stop on the wall behind the toilet — turn it clockwise until it stops). Flush the toilet to empty the tank, then use a sponge and a small bucket to mop up the remaining water in the tank bottom. Dry the area around the tank-to-bowl connection with a towel so you can see exactly where moisture is originating. You'll need:
- Adjustable wrench or basin wrench
- Large flathead screwdriver (to hold bolt heads from inside the tank)
- Sponge and bucket
- Replacement spud gasket sized for your flush valve
- Replacement tank bolt kit (bolts, rubber washers, brass nuts — usually sold together)
- Dry cloth or paper towels
The Repair: Gasket and Bolt Replacement
Start simple. With the tank empty and dry, reach inside and try gently snugging each tank bolt nut by hand — never reef on porcelain hardware with power tools. The standard approach is to bring each nut to snug by hand, then add only a small amount of additional turn — stop the moment resistance increases. There is no universal figure; go slowly and stop well before you feel the porcelain flex. When in doubt, check your toilet manufacturer's instructions. If snugging the nuts and letting things dry for an hour stops the leak, the bolts had simply worked loose. If the leak returns at the next flush, plan on replacing the gasket and bolts entirely.
- Remove the tank. With the tank emptied, unscrew the nuts from the underside of the bowl. Hold each bolt head steady from inside the tank with a flathead screwdriver. The nuts can be stubborn if corroded — penetrating oil left for a few minutes helps. If the bolts spin freely and won't come loose, you may need to cut them with a hacksaw or oscillating tool.
- Lift the tank free. Set it on a folded towel on the floor so you don't chip the porcelain.
- Pull the old spud gasket. The large rubber gasket will be visible at the flush valve opening. Peel it off and note its size — bring it to the hardware store or confirm the replacement is compatible with your flush valve. Replacement gaskets are not universal — sizing depends on your flush valve (common sizes include 2-inch and 3-inch openings, among others). Bring the old gasket to the hardware store or note your flush valve brand and model before purchasing a replacement.
- Inspect the flush valve itself. While you have access, look at the plastic or brass flush valve body. If it's cracked, you'll want to replace it at the same time — a new gasket won't help if the valve body is broken.
- Install new hardware. Slide the new rubber washers onto the new tank bolts, drop them through the tank holes, press the new spud gasket firmly onto the flush valve opening, then lower the tank back onto the bowl. Thread the nuts by hand, then bring them to snug and add only a small amount of additional turn — alternating sides so the tank seats evenly. Confirm the tank sits level and doesn't rock.
- Restore water and test. Turn the supply back on slowly, let the tank fill, then flush several times. Watch the joint closely with a dry paper towel pressed around it — any moisture will show immediately.
When the Answer Isn't the Gasket
If you replace the gasket and bolts and still see water, inspect the tank itself carefully in good light. A hairline crack in the tank porcelain — especially along the bottom — can mimic a gasket leak and there's no field repair for cracked porcelain. A cracked tank means tank replacement (or, depending on parts availability, a whole new toilet). Note that toilet tanks and bowls are heavy and awkward to maneuver — have a helper on hand and set removed pieces on a folded towel or cardboard to avoid cracking them or damaging the floor. That's a job you can do yourself if you're comfortable, and our tank problems guide category covers that territory in more detail.
Keeping This From Happening Again
Drop-in tank tablets containing bleach or harsh chemicals are a common contributor to early rubber deterioration — established plumbing practice generally recommends against them for exactly this reason. If you like to keep the bowl clean between scrubbing, look for enzyme-based or bleach-free alternatives. It's also worth checking the tank bolt connections during your annual home maintenance walk-through — a small snug before things get loose prevents a puddle later.


Still need help? Ask a Plumbing Expert AD
Get a personalized answer from a verified plumbing expert. Describe your issue and get step-by-step help.