
How to Tighten Toilet Tank Bolts Safely

How Do I Tighten Tank Bolts Without Cracking the Porcelain?
Read full question
Three times now the toilet tank has started rocking and dripping right before we have guests over — it never fails. Every time we have people over, I'm in the bathroom with a towel mopping up a slow leak from where the tank meets the bowl, and it's embarrassing. I'm pretty sure the bolts holding the tank to the bowl have worked loose over time.
I know porcelain can crack if you overtighten things, so I'm nervous about just grabbing a wrench and going to town on these bolts. Is there a safe way to snug them down without doing more damage than I started with? Are there any signs I should look for that tell me a bolt or gasket needs replacing rather than just tightening?
Quick Answer
First confirm where the leak is actually coming from, then tighten each tank bolt gradually and evenly — snug plus about a quarter turn — alternating sides rather than cranking one bolt all the way down. Porcelain cracks when force is applied unevenly or excessively, so patience and small increments are the key. If the rubber washers or gasket are degraded, tightening alone won't stop the leak and those parts need replacing.
First, Let's Confirm What's Actually Leaking
Before reaching for a wrench, it's worth spending two minutes ruling out look-alike problems. A drip at the base of the tank doesn't always mean loose bolts — it can also be tank condensation (sweating) on a humid day, a weeping supply-line connection at the bottom of the tank, or a failing tank-to-bowl gasket that no amount of bolt tightening will fix. Here's a quick way to tell them apart:
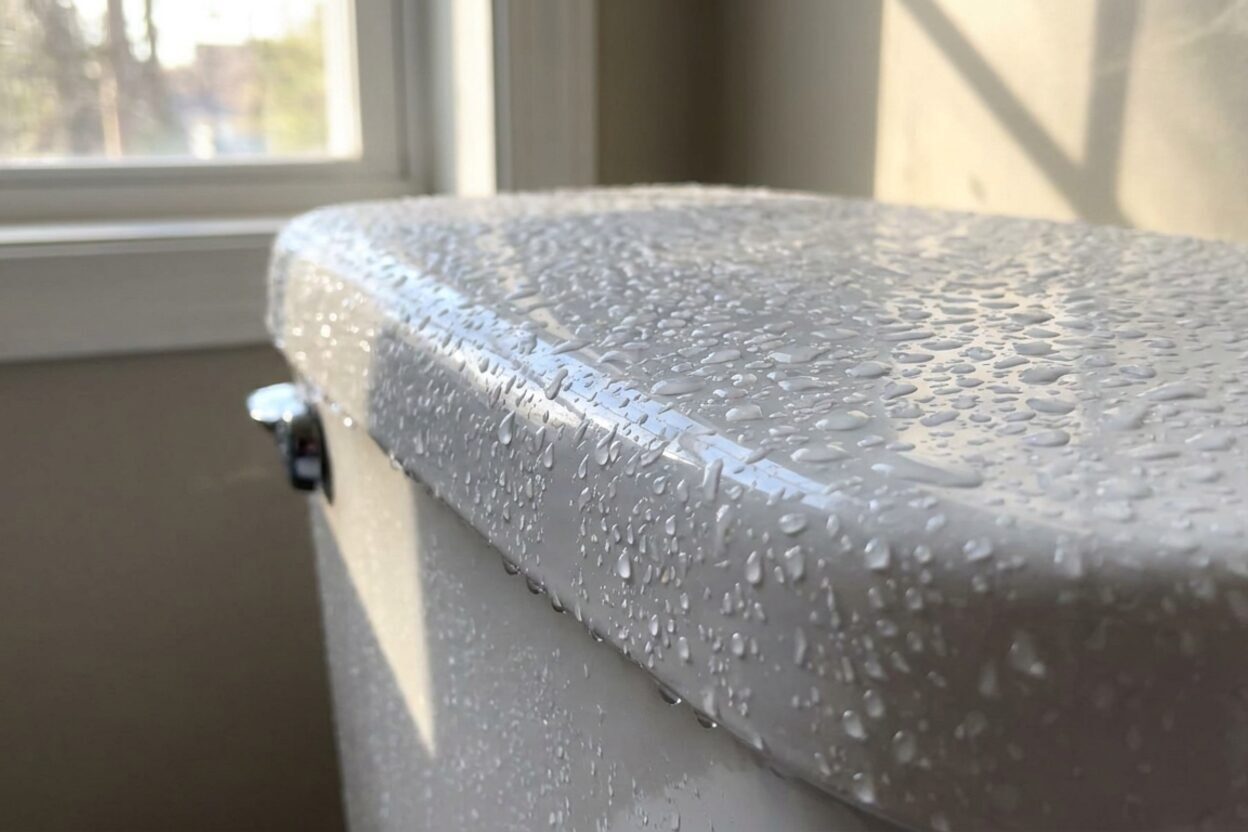
- Condensation: The outside of the tank feels cold and damp even when the toilet hasn't been flushed recently. The moisture is diffuse, not dripping from a specific point.
- Supply-line connection: Dry the area completely, then watch closely right where the braided line screws into the tank's fill-valve shank. A drip there points to that fitting, not the bolts.
- Bolt area / gasket leak: Water appears specifically at the underside of the tank where it meets the bowl, and it shows up or worsens right after a flush. That's your signal the bolts, their rubber washers, or the large donut-shaped spud gasket between tank and bowl are the culprit.
If the leak fits that last description, read on.
What You'll Need
- Large flat-blade screwdriver
- Adjustable wrench or basin wrench
- Rubber gloves
- Dry towels or sponge
- Replacement tank bolt kit (optional but smart — see below)
Shut Off the Water Before You Touch Anything
This step is non-negotiable for safe tank work. Turn the shutoff valve (the angle-stop on the wall behind the toilet) clockwise until it stops. Flush the toilet to drain the tank, then use a sponge or towels to remove any remaining water inside the tank. Working on a full tank is awkward and increases the chance of accidentally cracking things when you apply torque.
Understanding the Hardware (So You Don't Break It)
Most toilets use two tank bolts (some older or specialty models use three) — typically brass or stainless — running down through the bottom of the tank and through the bowl's mounting surface. Each bolt has a rubber washer inside the tank (sealing against the tank floor), a metal washer, and a nut underneath the bowl's rim. The large spud gasket (or tank-to-bowl gasket) sits between the two porcelain surfaces and does most of the sealing work.
Porcelain has very little flex. It doesn't compress like wood — it simply holds until it suddenly doesn't. The danger zone is applying heavy, uneven force to one side while the other side is loose, effectively prying the tank rather than drawing it down flat. That's what cracks tanks and bowls.
The Right Tightening Technique
- Locate both bolt nuts under the back rim of the bowl. They're usually accessible by reaching underneath or by looking from the front.
- Hold the bolt head still with your screwdriver inside the tank (slot-head) while you turn the nut below with your wrench. This prevents the bolt from spinning freely, which can tear the rubber washer inside the tank.
- Snug each nut finger-tight first, alternating between the two bolts just as you would lug nuts on a wheel. The goal is to bring the tank down evenly against the gasket.
- Then tighten each nut incrementally — about a quarter turn at a time — switching from one bolt to the other. You're looking for firm resistance, not maximum torque. The generally accepted guidance is snug, then no more than a quarter to a half turn beyond that. When the tank stops wiggling and feels solid, stop.
- Check the tank's alignment as you go. It should sit level and parallel to the bowl. If one side is noticeably lower, back off and re-approach more evenly.
There is no specific ft-lb torque figure to hit — the manufacturer guidance for porcelain fixtures consistently comes down to the same principle: firm and even, never forced. If you feel significant resistance before the tank seems fully seated, stop and investigate rather than pushing through.
When Tightening Isn't Enough
If the tank still leaks after careful tightening, the rubber components are almost certainly the real problem. Tank bolt rubber washers and the spud gasket harden and flatten over time — how quickly depends on water chemistry, cleaning products used, and use patterns. Once they've lost their ability to compress and seal, no amount of torque will compensate.
Replacement tank bolt kits are inexpensive and widely available at hardware stores. They come with new bolts, metal washers, rubber washers, and nuts. If you're already draining the tank anyway, it's good practice to swap these out rather than reinstalling the old hardware. The spud gasket (tank-to-bowl gasket) is sold separately and is worth replacing at the same time if it looks flattened, cracked, or off-color. Tank bolt kits are widely available and cover most common configurations, but fit varies by manufacturer and model — bring the old hardware with you or check your toilet's model number before purchasing, and confirm the bolt diameter, length, and washer size match your fixture.
For more guidance on related tank issues, our tank problems category covers gaskets, sweating, and other common concerns in one place.
One Situation That Calls for a Plumber
If you notice a visible crack in the tank — a hairline fracture running through the porcelain near a bolt hole — stop work and call a plumber. A cracked tank cannot be reliably repaired and needs replacement. Continuing to use or tighten a cracked tank risks a sudden failure. That's one of the clear call-a-plumber gates in plumbing practice, and it's worth knowing before you start so you can spot it if it's there.


Still need help? Ask a Plumbing Expert AD
Get a personalized answer from a verified plumbing expert. Describe your issue and get step-by-step help.