
Why Is My Toilet Always Running? (DIY Fixes)

My toilet won't stop running — can I fix it myself cheaply?
Read full question
My toilet has been making that constant trickling/hissing sound for what feels like forever, and my water bill is starting to show it. It runs pretty much non-stop — sometimes it stops for a little while and then kicks back on again even though nobody's used it. Can't afford a service call right now — is there a way to diagnose and fix this for under $20 or so? I've heard it might be the flapper or something in the tank, but I really don't know where to start.
Quick Answer
A constantly running toilet is almost always caused by one of three things: a worn or warped flapper that won't seal, a float set too high that lets water spill into the overflow tube, or a failing fill valve that never fully shuts off. All three are inexpensive DIY fixes requiring only basic tools and readily available parts.
In Most Cases, It's One of Three Culprits
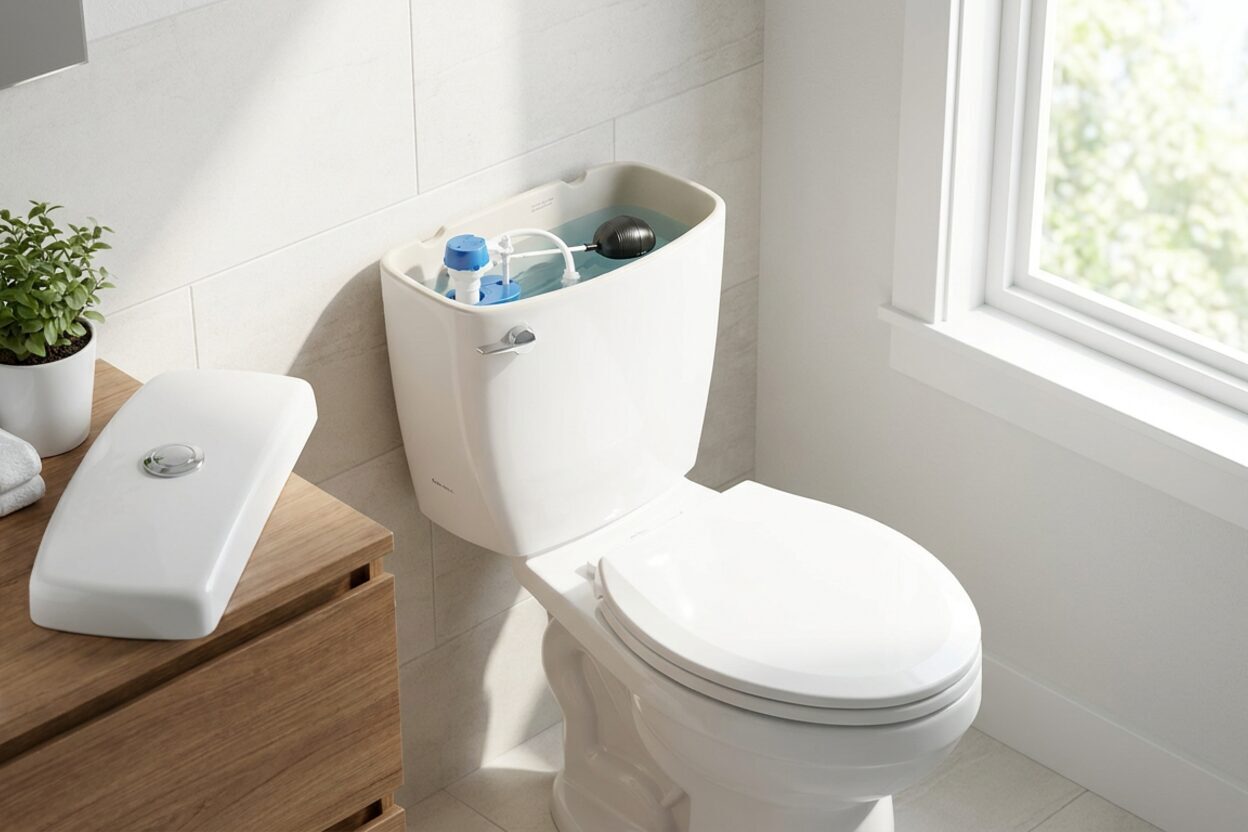
A running toilet sounds complicated, but the cause is nearly always simple — and cheap to fix. The cause is commonly one of three things: water escaping through a bad flapper, the float being set too high, or a fill valve that's given up trying to shut off completely. Before you call anyone, spend ten minutes with the tank lid off and you'll almost certainly identify the problem yourself.
Start by removing the tank lid and setting it safely aside on a flat surface. Then just watch. Is water quietly spilling into the big tube in the center of the tank (the overflow tube)? Is the water level clearly above that tube? Or does the water look like it's right at the correct level, but you can still hear running? These three observations point to three different fixes.
Check the Flapper First — It's the Most Common Offender
The flapper is the rubber disc at the bottom of the tank that lifts when you flush and seals back down afterward to let the tank refill. Over time — and how quickly depends heavily on your water chemistry and whether in-tank cleaning tablets are used — rubber flappers warp, harden, or accumulate mineral buildup and stop sealing properly. Water slowly leaks past them into the bowl, the fill valve notices the tank dropping and kicks back on, and the cycle repeats indefinitely.
Here's a quick test: drop a few drops of food coloring into the tank and don't flush. Wait about 10 minutes, then check the bowl. If color appears in the bowl without flushing, your flapper isn't sealing. That's your answer.
You can also just press down on the flapper with your finger while the toilet is running. If the running stops, the flapper isn't seating properly on its own — time to replace it.
Replacing the Flapper
- Turn off the supply valve — it's the oval handle on the wall or floor behind the toilet. Turn it clockwise until it stops.
- Flush to empty the tank, then sponge out any remaining water in the bottom.
- Unhook the old flapper from the two ears on the overflow tube and unhook the chain from the flush handle arm.
- Take the old flapper to a hardware store to match the size, or buy a universal adjustable flapper — these fit the vast majority of toilets on the market.
- Snap the new flapper onto the overflow tube ears, reconnect the chain with just enough slack that it doesn't pull the flapper open when the handle is at rest, but not so much that it can bunch up under the flapper — a small amount of slack, adjusted to your specific handle and flapper geometry, is the goal. Then turn the water back on and test.
This is genuinely one of the simplest plumbing repairs in the house, and the parts are widely available at any hardware store.
If the Water Level Is Too High — Adjust the Float
Look at where the water sits in your tank. Many tanks have a water line marked on the inside wall — if yours does, that's your target. If not, a common rule of thumb is to aim for a level roughly one inch below the top of the overflow tube, but check your manufacturer's instructions for the precise setting for your model. If water is right at the rim of the overflow tube or spilling into it, the fill valve's float is set too high. Water is constantly trickling down that tube and into the bowl — which means the fill valve keeps running to compensate.
How you adjust the float depends on your fill valve type:
- Ball float (older style — a ball on an arm): Gently bend the arm downward, or turn the adjustment screw if there is one, to lower the float position.
- Cup or cylinder float (modern style): Pinch the spring clip and slide the float collar down the fill valve shaft, or turn the adjustment screw at the top of the valve. The goal is a water level that sits roughly one inch below the top of the overflow tube, or at your tank's marked line.
Turn the supply back on briefly and watch where the water settles. Adjust until it stops at the correct mark. Often this alone resolves the running completely.
When the Fill Valve Itself Is the Problem
If the flapper seals fine and the float is set correctly but the toilet still runs, the fill valve itself is likely worn out. Fill valves are the vertical assembly connected to your supply line inside the tank. They can develop worn seals or debris in the diaphragm that prevents them from shutting off fully, producing that steady hiss or trickle even when the tank is full.
Replacing a fill valve is a moderately easy DIY job — modern universal fill valves are adjustable and designed to fit most toilets. You'll shut off the supply, flush and sponge the tank dry, disconnect the supply line from the bottom of the tank, unscrew the locknut holding the old valve in, drop in the new one, adjust the height to suit your tank, reconnect, and turn the water back on. The manufacturer's instructions that come in the box walk you through the specific adjustments. For a deeper look at fill valve replacement, our fill and flush valve section covers the process in more detail.
Tools and Parts You'll Want on Hand
- Adjustable pliers or a wrench (for the supply line locknut)
- Sponge and a small bucket
- Food coloring (for the flapper leak test)
- Replacement flapper (universal adjustable types fit most toilets)
- Replacement fill valve if needed (also widely universal)
- Towel for the floor — there's always a little water
Don't Ignore It Too Long
A running toilet isn't just an annoyance — it can waste a significant amount of water over days and weeks, which quietly drives up utility costs. The good news is that in most cases, one of these three fixes resolves the problem entirely, and the parts are inexpensive and easy to find. Work through them in order — flapper first, then float adjustment, then fill valve — and you'll almost certainly land on the answer.
If you've worked through all three fixes and the toilet is still running, or if you find corroded or seized fittings that won't budge without force, that's a good point to call a licensed plumber rather than risk damaging the tank or supply connection.
You can find more walkthroughs for common tank issues in our toilet repair guides.
 Toilet Fill Cycle Diverters overflow & Leak Detecting Dye-Tablets Tank Water Saver Pack, 2 Pack
View on Amazon →
Toilet Fill Cycle Diverters overflow & Leak Detecting Dye-Tablets Tank Water Saver Pack, 2 Pack
View on Amazon →
 Korky 2017BP Standard 2-Inch 2X Ultra High Performance Universal Long Lasting Rubber-Easy to Install-Made in USA Toilet Flapper, 1 Count (Pack of 1), Red
View on Amazon →
Korky 2017BP Standard 2-Inch 2X Ultra High Performance Universal Long Lasting Rubber-Easy to Install-Made in USA Toilet Flapper, 1 Count (Pack of 1), Red
View on Amazon →
 Fluidmaster 400H-002 Performax Universal Toilet Fill Valve High Performance Tank and Bowl Water Control, 1-Pack, Multicolor
View on Amazon →
Fluidmaster 400H-002 Performax Universal Toilet Fill Valve High Performance Tank and Bowl Water Control, 1-Pack, Multicolor
View on Amazon →

Still need help? Ask a Plumbing Expert AD
Get a personalized answer from a verified plumbing expert. Describe your issue and get step-by-step help.