
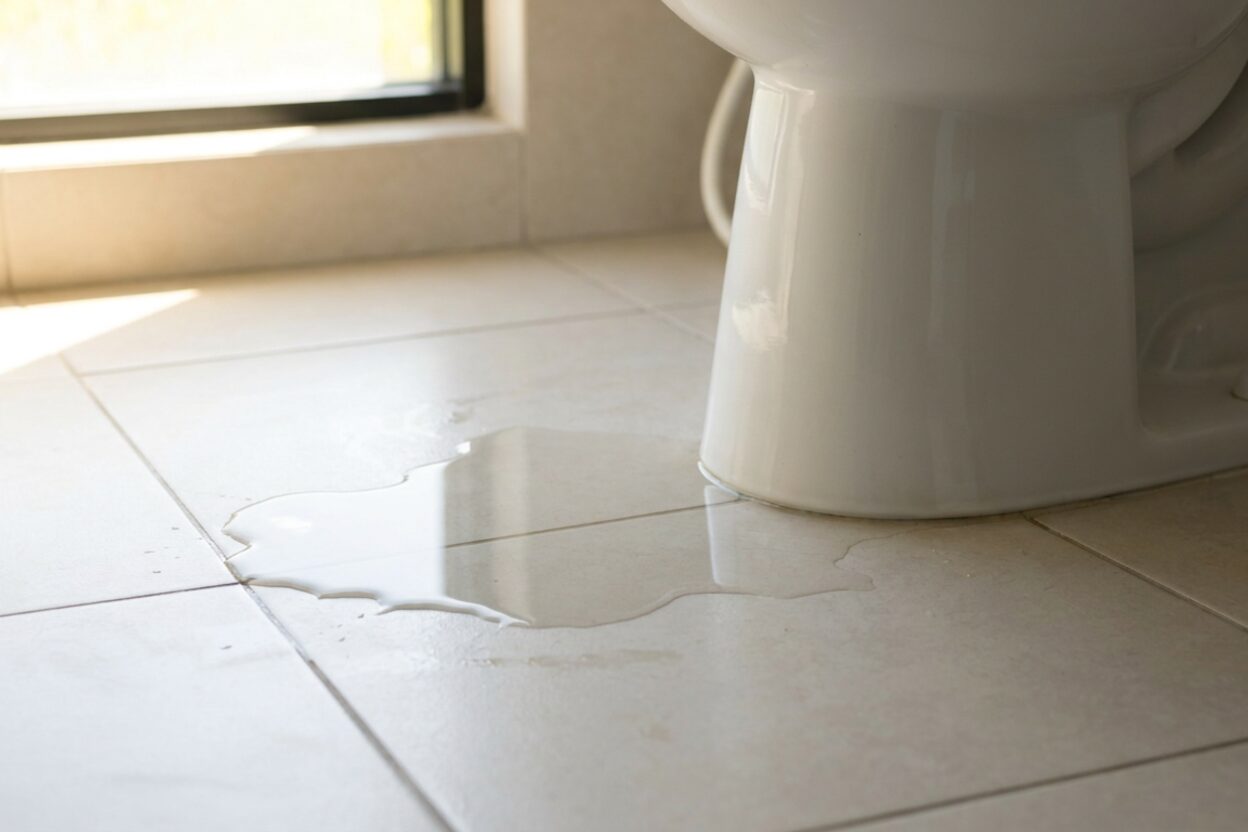
Water Leaking Around Toilet Base? Here's Why

Water pooling around my toilet base in new rental — what's wrong?
Read full question
During my first week settling into this rental, I noticed water collecting around the bottom of the toilet. I've never dealt with this before and honestly wasn't sure if it was just condensation or something more serious. The floor around the base is consistently damp, and it seems to get worse after flushing. Is this a wax ring issue, or could it be something simpler? I don't want to panic my landlord over nothing, but I also don't want to ignore something that could cause real damage.
Quick Answer
Water around the base of a toilet can come from a few different sources — not just a failed wax ring. Before pulling the toilet, you'll want to rule out condensation, loose tank bolts, a leaking supply line, and loose closet bolts. The timing and appearance of the water are your best diagnostic clues.
What Each Component Does (and How It Can Fail)
A toilet's watertight integrity depends on several separate parts working together. When water appears at the base, the challenge is pinpointing which part has let go — because the fix ranges from tightening a nut to pulling the entire toilet and replacing the wax seal. Working through each component systematically saves a lot of unnecessary effort.
The Wax Ring
The wax ring sits between the bottom of the toilet horn (the outlet opening on the underside of the bowl) and the floor flange — the metal or PVC collar anchored to your drainpipe. Its job is to create a watertight, airtight compression seal every time waste leaves the bowl. When the wax ring fails — usually due to toilet movement, an improperly set ring, or age — wastewater can seep out with each flush.
How to identify a wax ring failure: The water appears specifically after a flush, not between flushes, and it tends to be slightly discolored or have an odor. If you're seeing clear, odorless water that's present even when the toilet hasn't been flushed recently, the wax ring is probably not the culprit.
Closet Bolts (Tee Bolts)
Two bolts — called closet bolts or tee bolts — slide into the floor flange and pass through the toilet base, held in place by nuts and washers. They anchor the toilet to the floor and keep it pressed firmly against the wax ring. If these bolts loosen over time (which is common, especially in a rental that's seen heavy use), the toilet can rock slightly with each use, breaking the wax seal gradually.
Quick check: Try gently rocking the toilet side to side. Any noticeable movement is a sign the closet bolts need tightening. Pop off the plastic caps at the base, and use a small adjustable wrench to snug down the nuts. Be careful here — do not overtighten. Tighten until snug, then stop — porcelain cracks under excess torque and there is no universal turn-count. Go by feel: once you meet firm resistance, do not force it further. If the toilet was rocking and the wax ring was already compromised, tightening the bolts alone won't fix the existing leak; the wax ring will also need replacement.
Tank-to-Bowl Gasket and Tank Bolts
The tank sits on the bowl and is sealed by a large rubber spud gasket, with two or three bolts running through the tank bottom and the bowl's mounting surface. If the rubber gasket ages and hardens, or if the tank bolts corrode or loosen, water can drip from the underside of the tank, run down the back of the bowl, and collect at the base — making it look like a base leak when it's actually a tank leak.
How to tell: Dry the floor completely, then flush and watch closely. If water is trickling down the porcelain before reaching the floor, the source is above the base. Check the bolts inside the tank by pressing gently on each side of the tank — if there's movement, the bolts need snugging. Tighten until snug, then stop — porcelain cracks under excess torque and there is no universal turn-count. Go by feel: once you meet firm resistance, do not force it further.
The Supply Line and Shutoff Valve
The braided or plastic supply line runs from the wall shutoff (angle-stop valve) up to the fill valve inside the tank (location varies by model — check your specific toilet). A loose compression fitting at either end, a cracked line, or a failing valve packing can drip water that travels down the wall or along the floor and pools near the toilet base.
This is worth checking early — it's the easiest fix if it turns out to be the source. Run your fingers along the full length of the supply line and around both connection points while the water is on. Any moisture here points to a supply-side issue rather than a wax ring problem. A replacement braided supply line is a straightforward swap: shut the water off at the angle stop, flush to empty the tank, disconnect both ends, and thread on the new line hand-tight, then snug by feel — do not force it, especially on plastic nuts, which crack under excess torque. Check for drips when you restore water and snug slightly if needed.
Condensation (Tank Sweating)
In humid climates or during warm months, cold water in the tank can cause moisture to condense on the outside of the porcelain, eventually dripping to the floor. This is sometimes misread as a base leak. Condensation typically appears on the tank exterior, not specifically at the floor seal, and it's more pronounced in humid weather regardless of flushing frequency.
If this is the issue, improving bathroom ventilation (running the exhaust fan longer) usually reduces it. Some tanks have a foam liner inside to insulate against condensation — if yours is missing or degraded, that can contribute to the problem.
When You Do Need to Pull the Toilet
If you've ruled out condensation, supply line issues, tank bolts, and closet bolts — or if tightening the closet bolts reveals the toilet was rocking significantly — a wax ring replacement is likely needed. This means shutting off the supply, flushing and sponging the tank and bowl dry, disconnecting the supply line, removing the closet bolt nuts, and lifting the toilet straight up off the flange. Toilets are heavier than they look — most one-piece models exceed 80 lbs and even two-piece bowls run 50–70 lbs. Have a helper, lift with your legs, and set the bowl on a folded towel or cardboard to protect the floor and the porcelain. The old wax seals to both surfaces, so it needs to be scraped clean before setting a new ring.
For a step-by-step walkthrough of that process, our wax ring and flange guides cover everything from ring selection to reseating the toilet correctly.
When to Call a Plumber Instead
Some situations are beyond a DIY wax ring swap. Call a licensed plumber if:
- The floor flange is cracked, broken, or sitting below the finished floor level — a sub-floor-level flange needs a flange repair kit or professional repair before any new wax ring will seal properly.
- You notice sewer odor that persists even after the seal is addressed.
- Other drains in the home are backing up at the same time — that points to a main sewer line issue, not the toilet itself.
- The porcelain bowl or base shows any cracks.
- The drain connects to older cast-iron or lead pipe work that needs evaluation.
One More Thing: The Caulk Question
Once you've resolved the leak, you may wonder whether to caulk the toilet to the floor. Many local plumbing codes actually require it — caulking prevents the toilet from rocking and stops floor water from getting under the base. On the other hand, some plumbers deliberately leave the very back un-caulked so that a future wax ring failure shows up on the floor rather than silently rotting the subfloor underneath. Both positions have merit. I'd suggest checking what your local code requires — it varies by jurisdiction — and making your call from there.
 Fluidmaster 7511 Toilet Wax Ring with Flange and Bolts
View on Amazon →
Fluidmaster 7511 Toilet Wax Ring with Flange and Bolts
View on Amazon →
 Eastman 12 Inch Flexible Toilet Connector, 7/8 Inch Ballcock x 3/8 Inch Compression, Stainless Steel Braided Hose, 48088
View on Amazon →
Eastman 12 Inch Flexible Toilet Connector, 7/8 Inch Ballcock x 3/8 Inch Compression, Stainless Steel Braided Hose, 48088
View on Amazon →

Still need help? Ask a Plumbing Expert AD
Get a personalized answer from a verified plumbing expert. Describe your issue and get step-by-step help.