
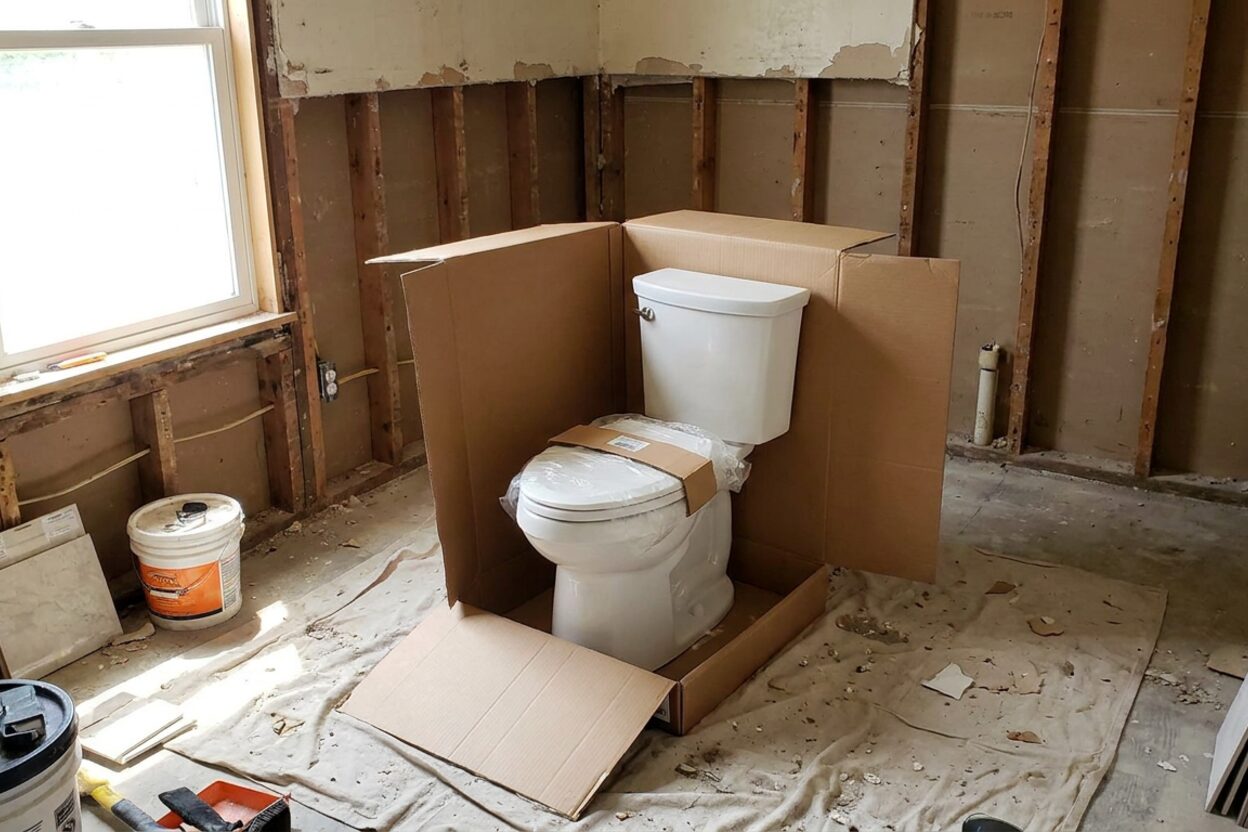
How to Remove an Old Toilet: DIY vs. Pro Guide

What tools and parts do I need to pull out an old toilet?
Read full question
Three of my rental units need their aging toilets swapped out, and I'm standing in the plumbing aisle of the hardware store trying to figure out exactly what I need to buy before I start pulling them. I've got a handyman coming to do the actual installs, but I want to have everything on hand and understand the process so I'm not caught off guard if something goes sideways — like a rusted bolt or a cracked flange.
What tools should I have ready, what replacement parts should I grab at the same time, and are there any points in the removal where a landlord really should just step back and call a licensed plumber instead of pushing through? I'd rather know ahead of time what a 'stop and call someone' situation looks like than find out mid-job.
Quick Answer
Removing a toilet is a manageable DIY task for most homeowners and landlords: shut off the water, empty the tank and bowl, disconnect the supply line, unbolt the toilet from the floor, and lift it free. Pick up a new wax ring and closet bolts while you're at the hardware store, since you'll need them for reinstallation. A few situations — a broken or sunken flange, corroded cast-iron work, or signs of subfloor damage — are genuine call-a-plumber moments.
What to Grab at the Hardware Store First
Before touching the toilet, it's worth picking up a few parts you'll almost certainly need when it comes time to reinstall. A new wax ring is non-negotiable — you should never reuse the old one. Grab a set of new closet bolts (also called Johnny bolts) at the same time, since the old ones are often corroded and snap during removal. A new supply line is inexpensive insurance; flexible braided lines are widely available and connect easily. If you're swapping in a new toilet, confirm the rough-in measurement before you buy — the most common rough-in is 12 inches, measured from the finished wall to the center of the closet bolts, but 10-inch and 14-inch rough-ins exist — measure yours before buying a replacement toilet rather than assuming.
For tools, you'll want: an adjustable wrench, a pair of slip-joint pliers, a utility knife (for cutting any caulk at the base), a putty knife or small pry bar, a large sponge and bucket, heavy rubber gloves, and old towels or drop cloths for the floor. A hacksaw or mini-hacksaw is handy if the closet bolt nuts are rusted solid. Have a plastic bag or old cardboard ready to set the toilet on — porcelain is heavy and you don't want it sliding on a hard floor.
The Removal Process: What You Can Handle Yourself
Step 1 — Shut Off the Water and Empty Everything
Turn off the shutoff valve (angle stop) behind or beside the toilet — turn it clockwise until it stops. Flush the toilet to drain as much water from the tank as possible, then use your sponge and bucket to remove the remaining water from both the tank and the bowl. This step matters: a full toilet is heavier and messier to move, and residual water will spill during the lift.
Step 2 — Disconnect the Supply Line
Unscrew the supply line from the bottom of the tank by hand or with pliers. Have a towel ready for the small amount of water that will drip out. If the supply line is old and corroded, just replace it — they're inexpensive and a corroded line is a future leak waiting to happen.
Step 3 — Remove the Tank (Two-Piece Toilets)
If you have a two-piece toilet, it's often easier to remove the tank before lifting the bowl. The tank sits on the bowl and is held by two bolts running through the bottom of the tank into the bowl. Use a screwdriver inside the tank to hold the bolt steady while you turn the nut from below with a wrench. Lift the tank straight up and set it aside. On a one-piece toilet, you'll remove everything together as a unit.
Step 4 — Unbolting from the Floor
Pry off the plastic caps at the base of the toilet to expose the closet bolt nuts. Use your adjustable wrench to loosen and remove the nuts. If the nuts are rusted solid and won't budge, reach for the hacksaw and cut through the bolt itself — this is very common with older toilets. Don't force a stuck nut with excessive torque; you risk cracking the porcelain base.
Step 5 — Breaking the Seal and Lifting
Run a utility knife around the base of the toilet if it's been caulked to the floor. Rock the toilet gently side to side to break the old wax ring's seal — it takes a little effort but should come free. Lift the toilet straight up and set it on your cardboard or drop cloth. Even an empty toilet bowl is surprisingly heavy — two-piece bowls alone commonly weigh 50–70 lbs, while a one-piece unit can run 80 lbs or more as a single lift. Having a second person on hand for the lift is a smart call, and is strongly recommended for a one-piece unit.
Once the toilet is removed, stuff a rag into the open drain flange immediately — sewer gas is a real hazard and the rag blocks it while you work. Scrape the old wax residue off the flange and the floor using your putty knife.
Stop and Call a Plumber If You See Any of These
This is the part that catches people off guard. Most toilet removals are straightforward, but a few discoveries during the pull genuinely require a licensed plumber — pushing through them as a DIY job risks expensive structural or code problems down the line.
- A cracked or broken flange. The closet flange should be intact and sitting at or slightly above the finished floor level — typically no more than about 1/4 inch above. A flange sitting too far above the floor can also cause the toilet to rock; in that case a flange extender or toilet shims may be needed. If it is cracked, broken, or sitting below the floor surface, it needs proper repair or replacement before a toilet goes back on it — this is a plumber's job.
- Soft or damaged subfloor. When you remove the toilet, press on the floor around the flange with your hand. If it feels spongy or soft, there's likely water damage to the subfloor from a long-term leak. This needs a contractor or plumber to assess before you reinstall anything.
- Cast-iron or lead drain work. Older properties sometimes have cast-iron or even lead bends below the flange. Cutting into or modifying these materials requires specific expertise and may be subject to local code requirements — don't improvise.
- Multiple drains backing up at the same time. If other fixtures in the unit are also slow or backing up, the problem isn't limited to the toilet — it points to the main line. Pulling the toilet won't help and a plumber needs to scope the drain.
For more guidance on what happens after the pull — reseating, wax ring installation, and reinstallation — see our wax ring and flange guides, which cover the reinstall side in detail.
A Note on Caulking the Base
Once the new toilet is in, you'll face the caulk question. Many plumbing codes require caulking the toilet to the floor for sanitation reasons and to prevent rocking. The counterargument — and it's a reasonable one — is that leaving the rear of the base un-caulked means a failing wax seal will show up as visible water on the floor rather than silently rotting the subfloor underneath. Both positions have merit. Check your local plumbing code for your jurisdiction's requirement, and if code doesn't mandate it, make a call based on your preference for early leak detection versus a cleaner seal.

Still need help? Ask a Plumbing Expert AD
Get a personalized answer from a verified plumbing expert. Describe your issue and get step-by-step help.