
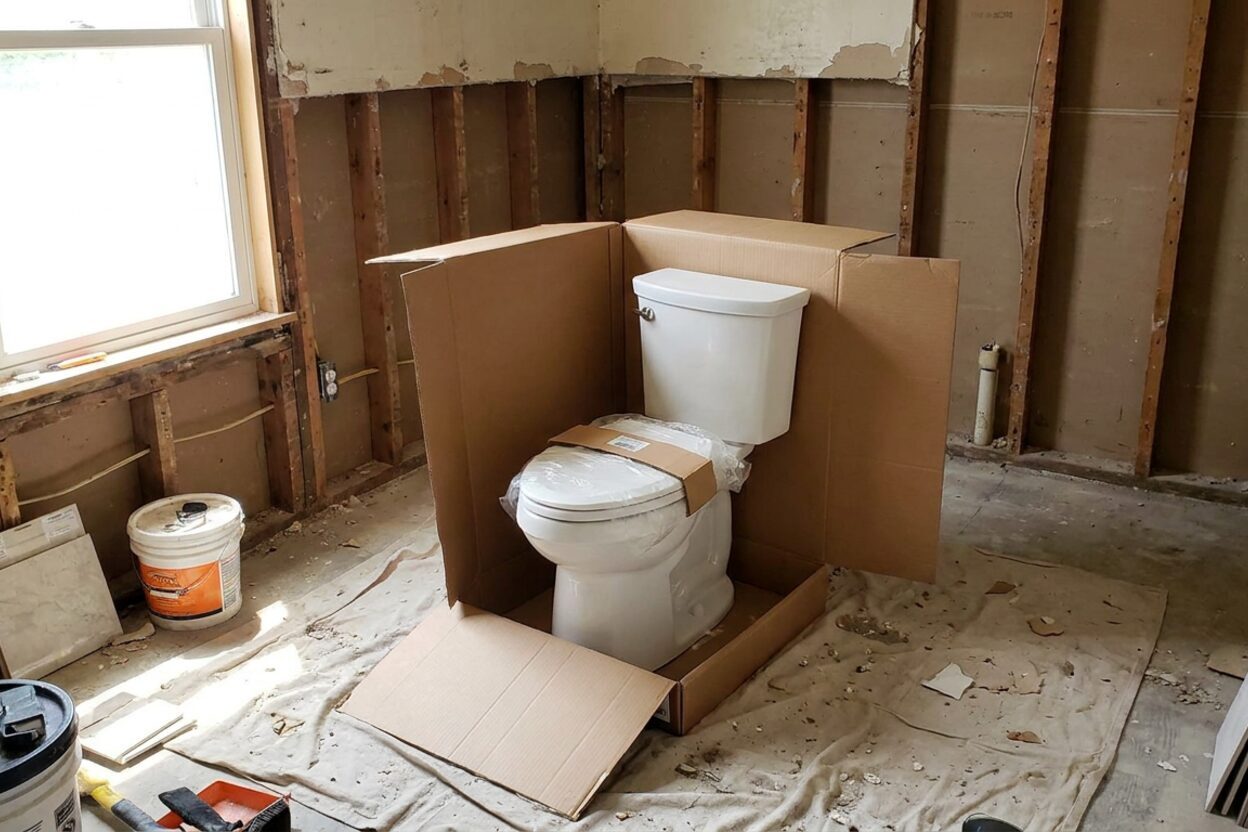
How to Install a New Toilet: Step-by-Step Guide

My old toilet is falling apart — is it worth replacing myself?
Read full question
My apartment's toilet has to be at least 15 or 20 years old at this point, and it's starting to show its age in a big way — the handle keeps sticking, the flapper goes constantly, and I've noticed some discoloration at the base that worries me. My landlord has given me the green light to swap it out myself if I want to handle it, and honestly I'd rather just have a fresh, efficient unit in there.
I've never pulled and set a toilet before, but I'm reasonably handy and I want to understand what I'm getting into. Are there different ways to approach this job, and what are the main things I should know before I start? I'd hate to get halfway through and realize I'm in over my head.
Quick Answer
Replacing a toilet is a manageable DIY project for a reasonably handy person — the basic process involves shutting off the water supply, disconnecting and removing the old toilet, swapping the wax ring, and setting the new unit. Before you start, measure your rough-in distance (the gap from the wall to the center of the floor drain bolts) so you buy the right toilet. If the floor flange is cracked or sitting below finished floor level, that's a job for a licensed plumber.
Before You Buy Anything — Measure First
The most common installation mistake is buying a toilet before confirming the rough-in dimension — that's the distance from the finished wall behind the toilet to the center of the floor drain bolts. The most common size is 12 inches, but 10-inch and 14-inch rough-ins exist, and putting the wrong toilet in means it either crowds the tank against the wall or leaves a visible gap. Grab a tape measure before you shop.
Also take note of the flange condition while you have a moment. If the closet flange (the fitting set into your floor that the toilet bolts to) is cracked or badly corroded, stop and call a plumber — that needs proper repair. If the flange sits slightly low but is otherwise intact, a thicker wax ring or a flange spacer/extender can often address it; check the flange height against the finished floor and select the appropriate wax ring before deciding.
Three Ways to Approach This Job
Option 1: Full DIY — Pull the Old, Set the New Yourself
Best for: Confident DIYers with basic plumbing comfort, a helper for lifting, and a flange in good condition.
This is the most common route and well within reach if your flange is solid. Here's how the process runs:
- Shut off the supply valve (the angle-stop on the wall behind the toilet), flush to empty the tank, then sponge out all remaining water from both the tank and bowl before you disconnect anything.
- Disconnect the supply line from the bottom of the tank. Have a towel handy — there's always a little residual water.
- Remove the tank bolts if your replacement is a two-piece unit and you want to move the tank separately (it's lighter and safer). On a one-piece toilet, you'll move the whole unit at once — these can be heavy, so a second set of hands is strongly recommended.
- Pop the plastic caps at the base, loosen the closet bolt nuts, and rock the toilet gently side to side to break the wax seal. Lift straight up and set it aside on old cardboard or newspaper.
- Scrape the old wax off the flange with a putty knife and inspect the flange carefully. No cracks, no significant corrosion? You're good to continue.
- Set new closet bolts into the flange slots, position the new wax ring (either pressed onto the new toilet's horn or set on the flange — either method works), then carefully lower the toilet straight down onto the bolts without sliding it, which can shear the wax seal.
- Tighten the nuts snugly alternating side to side — firm hand pressure plus a small increment by feel. Stop before the toilet base feels stressed. There is no fixed turn count; porcelain cracks without warning if you overtighten, so err on the side of less. Do not overtighten porcelain. You're compressing wax, not torquing a lug nut. If the toilet rocks at all once set, use plastic toilet shims at the base before tightening.
- Reconnect the supply line, turn the water on slowly, and flush several times watching for any drips at the supply connection, tank bolts, or base.
Pros: No service call needed, you control the schedule, and you'll understand exactly what's under the toilet going forward.
Cons: Physical — toilets are heavy and awkward. If the flange or the floor has surprises, you may need to pause mid-job. A helper is almost essential.
Option 2: DIY the Swap, Hire Out the Flange Work If Needed
Best for: Someone comfortable with the toilet swap itself but unsure about flange repair or old cast-iron drain work.
This is a sensible split-the-task approach. Pull the old toilet yourself, inspect the flange, and if everything looks solid, continue with the new installation. If the flange is damaged or the drain stack is cast iron with corroded connections, bring in a plumber for just that piece and then finish the toilet set yourself once it's repaired. You save on labor while keeping the technical work in professional hands.
Pros: Practical risk management — you're not locked into full DIY if problems appear.
Cons: Requires coordinating two stages and possibly leaving the bathroom out of service for a day or two.
Option 3: Hire a Licensed Plumber for the Full Install
Best for: Anyone dealing with an older building, suspected drain line issues, multiple fixtures backing up, or simply a preference for professional warranty on the work.
If you're in an older apartment building where the drain connections are cast iron or lead, or if you notice any sewer smell that persists or multiple drains behaving oddly, this is the straightforward choice. Plumbing code requirements and permit rules for toilet replacements vary by jurisdiction — in some areas a permit is required even for a straight swap, so it's worth a quick check with your local building department or a call to a licensed plumber who knows local code.
Pros: Handles surprises, ensures code compliance, and the work is typically warrantied.
Cons: Added cost and scheduling dependency.
Tools and Parts You'll Need
- Adjustable wrench and/or channel-lock pliers
- Putty knife or scraper
- Sponge and bucket
- Rubber gloves
- New wax ring — standard thickness for a flange at or just above floor level; extra-thick or with a plastic horn extension if the flange sits noticeably below the finished floor. Measure the flange height relative to the finished floor before buying. If unsure, consult the wax ring packaging or a plumbing supply counter.
- New closet bolts (often included with the toilet, but buy spares)
- New supply line — braided stainless is a common, widely available choice. Match the length to your shutoff-to-tank distance before buying.
- Toilet shims (plastic, not wood)
- Hacksaw or mini-hacksaw for trimming bolt excess after installation
- Helper for lifting
The Caulking Question — Know Both Sides
Once the toilet is set and confirmed leak-free after a few flush tests, you'll face the caulk decision. Many local plumbing codes actually require caulking the toilet base to the floor for sanitation reasons and to prevent rocking. The counterargument — common among experienced plumbers — is that leaving a small gap at the back allows any future wax-ring leak to show up on the floor rather than silently pooling under the base. Both positions have merit. Check whether your local code specifies one way, and if it doesn't, make the call based on your own preference. If you do caulk, use a bathroom-grade silicone and leave a small gap at the rear as a compromise that many inspectors accept.
For more help on related topics, including wax ring details and flange troubleshooting, browse our toilet installation and replacement guides.

Still need help? Ask a Plumbing Expert AD
Get a personalized answer from a verified plumbing expert. Describe your issue and get step-by-step help.